Home Gym LayoutsHome Gym Layouts

Apartment Hypertrophy Blueprint: Equipment & Program

By Hana Kimura8th Apr
Apartment Hypertrophy Blueprint: Equipment & Program

Building muscle in a shared living space demands a different approach than opening a gym membership. A hypertrophy home gym setup starts not with equipment lists, but with your room's boundaries: ceiling height, floor vibration tolerance, spatial footprint, and noise thresholds. This step-by-step blueprint shows you how to map those constraints first, then select workout home gym equipment that fits your body, your building, and your goals.

Measure first, then let the room choose the gear.

Step 1: Audit Your Physical and Acoustic Footprint

Measure Your Ceiling Clearance

Start with your highest point. If you're planning overhead pressing or pull-ups, you need at least 2.35 meters (7 feet 8 inches) of clear space from floor to obstruction (ceiling joists, light fixtures, and sprinkler heads all count). Note the room's full height in both metric and imperial: many racks and barbells are sized to North American inch specifications, while international equipment uses centimeters.

Map Your Floor Footprint

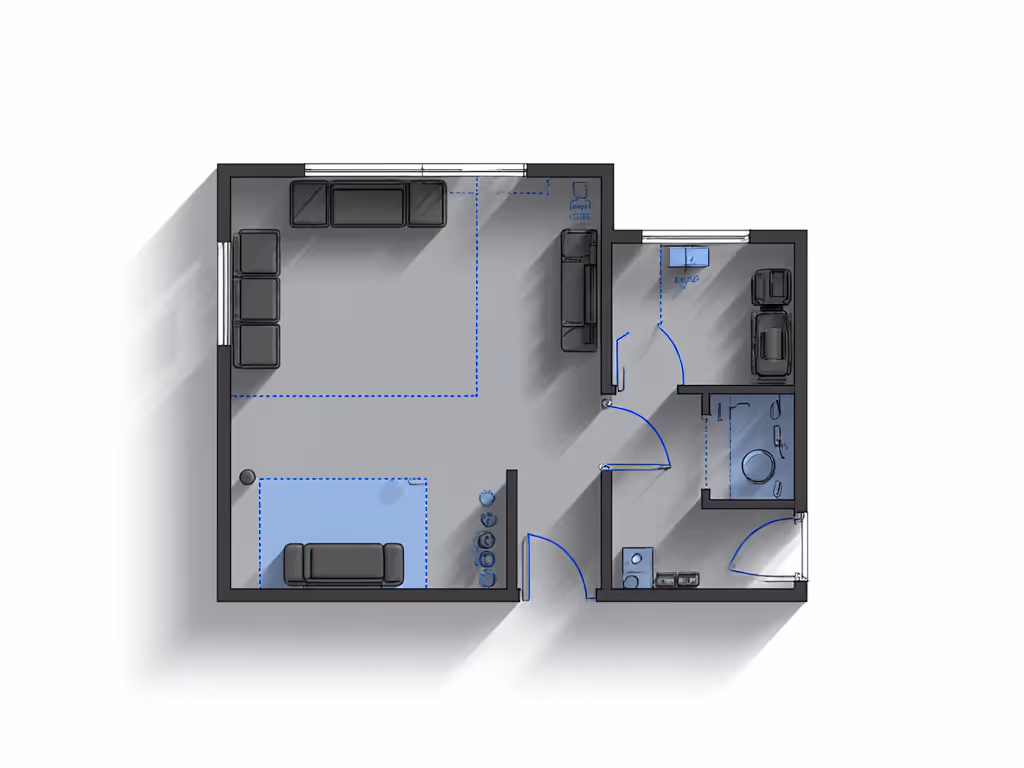
Measure your usable training area, the zone where you can stand, step back, and move freely without hitting furniture, doors, or walls. Jot down:

  • Total room dimensions (length × width)
  • Door swing paths and window positions
  • Outlet locations (especially if you'll add motorized equipment)
  • Any wall anchors or restrictions (renters: landlord approval needed)

Use a smartphone app or measuring wheel; sketch a quick floor plan. This is your containment boundary.

Test Your Vibration Tolerance

Here's where most apartment setups fail silently. Drop a dumbbell from hip height onto your floor (not a heavy lift, just a test). Listen. If the impact carries through to adjacent rooms or upper levels, vibration will be a problem. Note whether your subfloor feels hollow or solid; concrete is forgiving, suspended wood floors less so. If you need help choosing underlay and top layers, compare options in our home gym flooring comparison.

Record the decibel range at 1 meter during normal movement using a phone meter app (iOS: Decibel X; Android: NIOSH Sound Level Meter). For practical ways to cut impact and vibration, see our apartment gym noise control guide. A typical deadlift impact reads 85-95 dB at 1 meter; your baseline helps you choose quieter equipment later.

Quiet is a feature.

Check Your Ceiling Height Relative to Equipment

  • Pull-up bars and rack uprights: need clearance + bar diameter (typically 51 mm or 2 inches). Minimum usable height ≈ 2.3 m (7'6").
  • Overhead pressing in a rack: uprights + collar + bar + weight. Most commercial racks are 2.4-2.5 m tall; verify your space allows at least 30 cm overhead clearance.
  • Low-ceiling workaround: landmine attachments, floor-anchored safety squat bars, and incline presses avoid overhead altogether.
apartment_workout_space_layout_floor_plan

Step 2: Define Your Apartment Hypertrophy Training Framework

Volume and Frequency Baseline

Research indicates that 15-20 sets of challenging hypertrophy exercises per week per major muscle group drives optimal muscle growth, or roughly 5-6 sets per muscle group spread across multiple sessions.[4] This means your program must be time-efficient, not marathon-length. For plug-and-play templates and progression, use our Home Gym Workout Blueprint. Apartments don't accommodate three-hour pump sessions, and your neighbors won't tolerate them.

A 2-4 day per week split is ideal for apartment training:[3]

  • 2 days/week: ABA or BAB rotation (full-body or upper-lower alternates); suits extreme time constraints
  • 3 days/week: Mon-Wed-Fri pattern; balances volume, recovery, and noise windows
  • 4 days/week: upper push, upper pull, lower quad-dominant, lower hamstring-dominant; maximizes frequency without daily noise

Rep and Set Targets

For hypertrophy program design, follow this progression:[2]

  • Weeks 1–2: 6–8 reps, 90–120 seconds rest (strength foundation)
  • Weeks 3–4: 8–10 reps, 75–90 seconds rest (hybrid strength-hypertrophy)
  • Weeks 5–6: 10–15 reps, 60 seconds rest (hypertrophy focus)

Work at 75-85% of your one-rep max for each lift. This load range triggers muscle damage and mechanical tension without requiring maximal effort, quieter, safer, and less volatile for apartment conditions.

Structure and Exercise Selection

Each session targets 3-4 major lifts plus 2-3 isolation finishers. Pair lower-noise compound movements with drop sets on isolation work to meet volume without doubling sessions:[3]

  • Main lifts (compound): barbell or dumbbell squats, deadlifts, bench press, rows: 1-2 sets at RPE 8-9
  • Secondary lifts (compound or machine): leg press, hip thrust, incline press, lat pulldown: 1-2 sets at RPE 8-9
  • Isolation finishers (drop sets): leg curls, leg extensions, cable flyes, lateral raises: 1 set to failure + three 20% weight drops, then AMRAP (as many reps as possible)

Drop sets compress home workout volume requirements into shorter time windows and fewer total reps, reducing impact noise.

Step 3: Select Essential Equipment for Hypertrophy Home Gym Setup

Core Foundation (Non-Negotiable)

ItemPurposeApartment-Optimized Feature
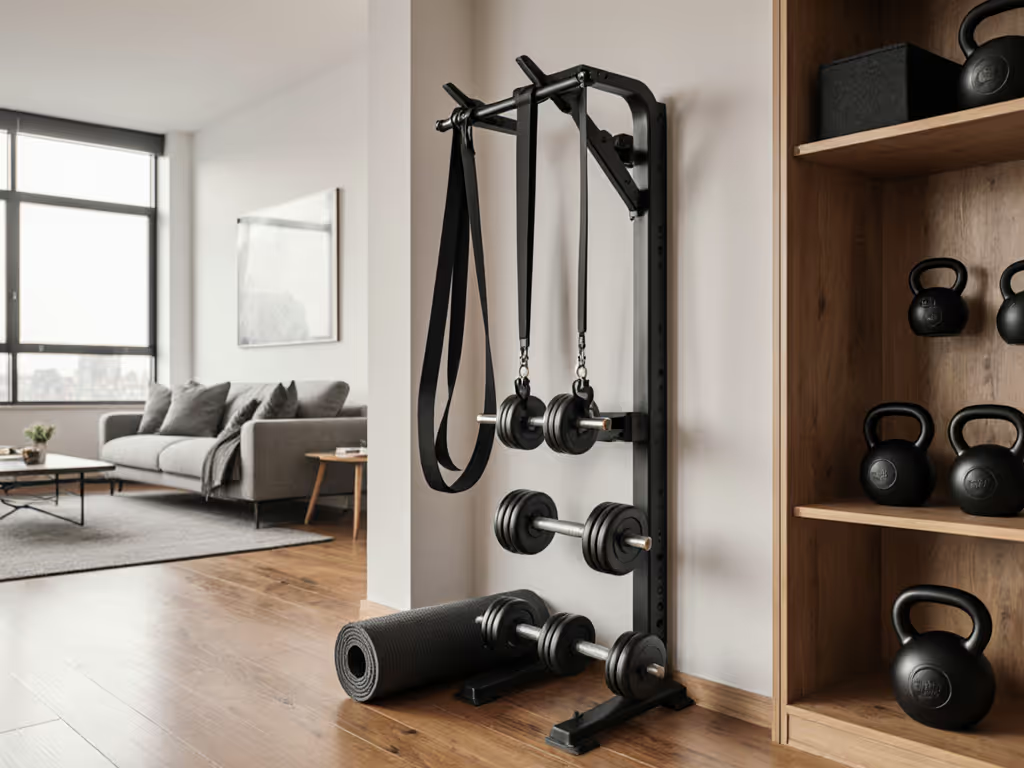
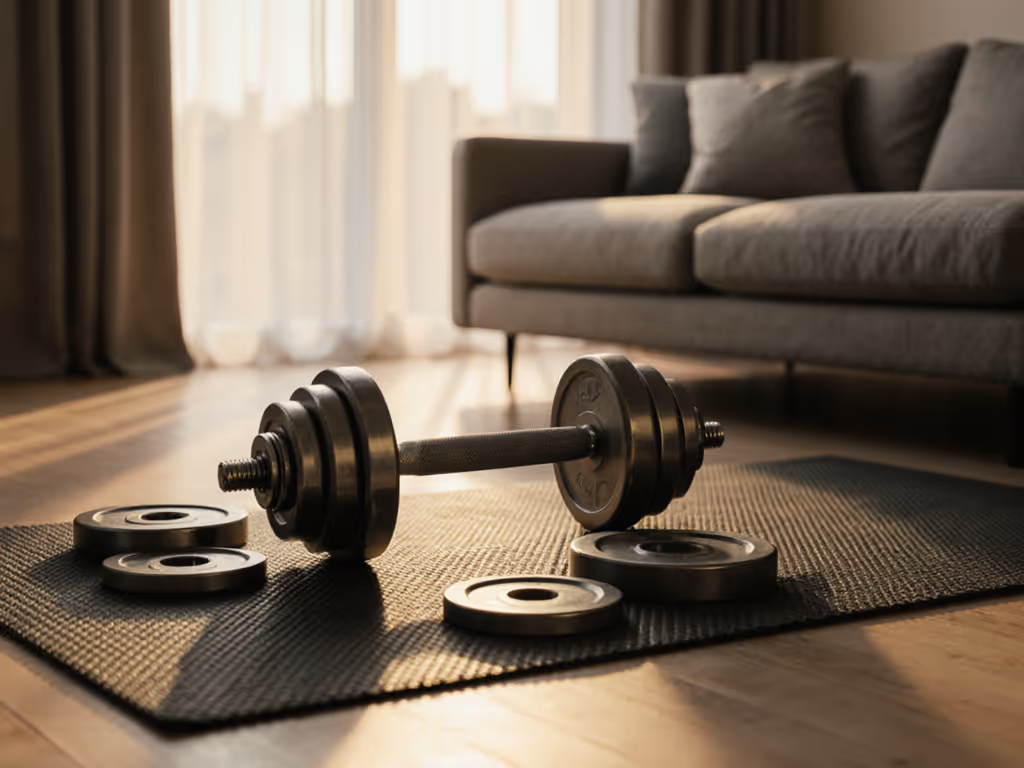
Adjustable dumbbell set (10-45 kg / 22-100 lb pairs)Main lifting tool for all compoundsSpace-efficient; quiet; no barbell whip noise
Flat/incline benchPress movements, isolation workFoldable model saves 60-70% floor space when not in use
Rubber flooring or mat stack (cork + 15 mm rubber minimum)Vibration isolation; impact dampingCork layer (25 mm) absorbs shock; rubber reduces transmission 40-50%
Power rack or pull-up stationSquats, pressing, safety; if space allowsOptional if ceiling < 2.3 m; wall-mounted bar alternative
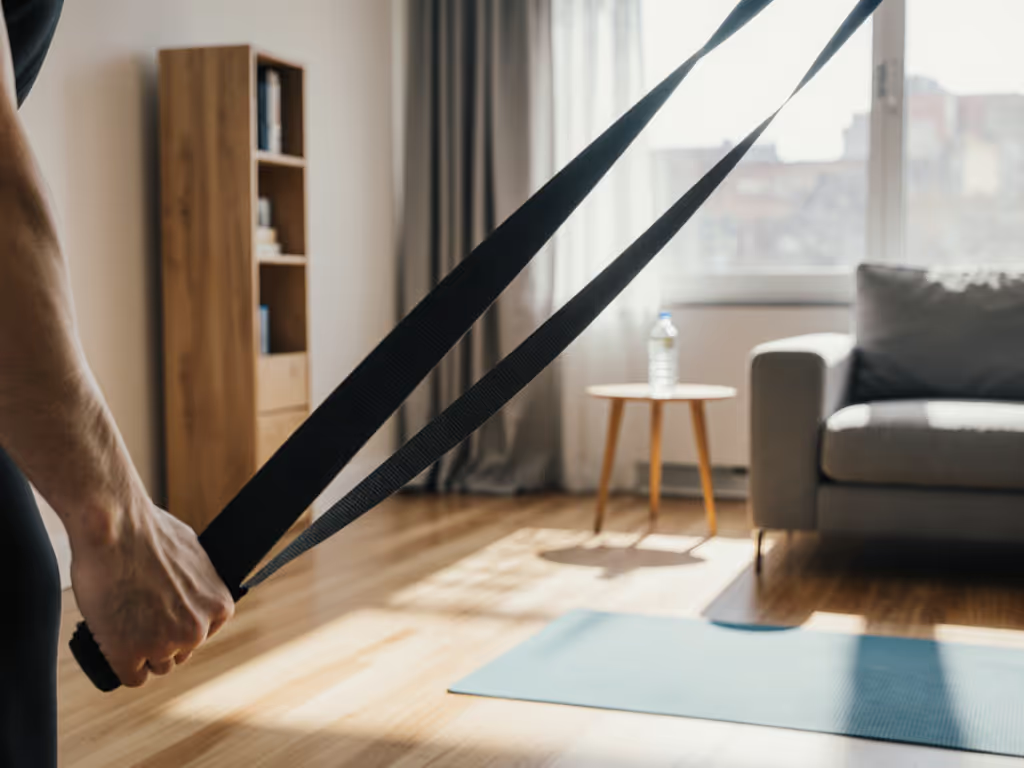
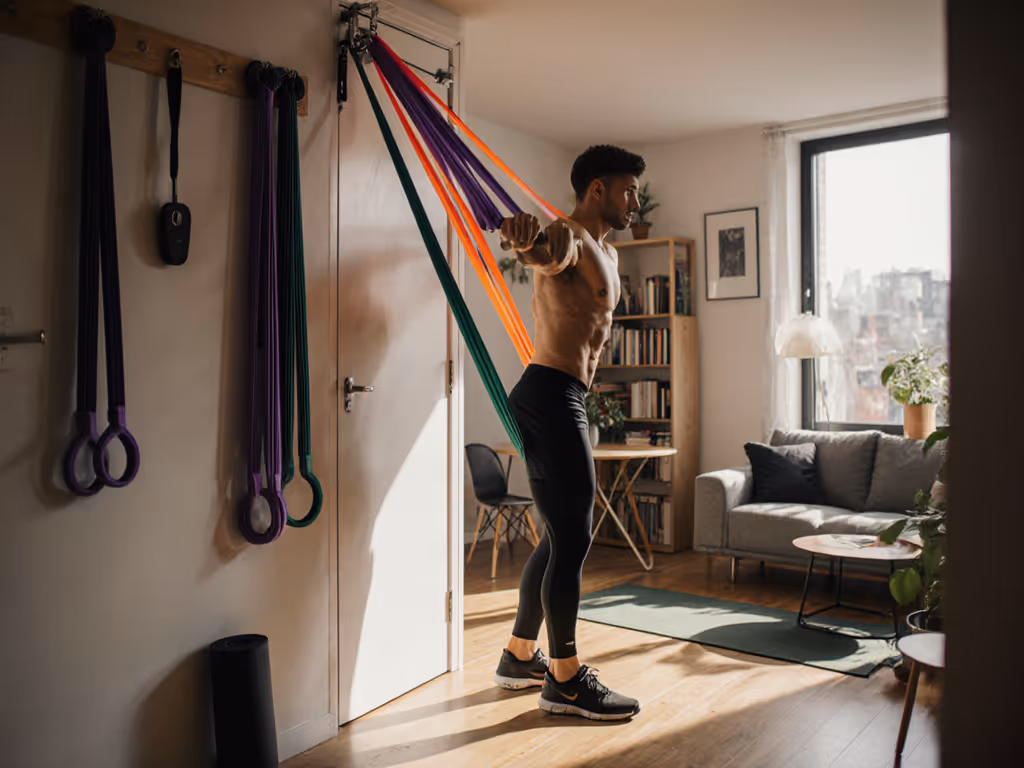
Cable column or resistance bandsIsolation, drop sets, unilateral workMagnetic resistance quieter than cable stacks; bands eliminate all noise

Secondary Tier (Frequency-Dependent)

  • Landmine attachment (if using a rack or floor anchor): eliminates barbell overhead need, quieter than free barbell
  • Leg press machine or Smith machine (if space allows): volume insurance; stable for drop sets If you go this route, review our Smith machine squats guide for space-safe setup and programming.
  • Belt squat or lever-based row (high-end; space-hungry but quiet): reduces spinal loading; quieter than back squat in low ceilings

Avoid in Apartments

  • Olympic barbell + plates (loud impact, floor damage risk)
  • Heavy standalone leg press (requires 2+ square meters; noise intense)
  • Chain-loaded or free-barbell benches (accident risk; noise spikes)
  • Motorized treadmills without suspension (impact at 85-95 dB; hear it three rooms over)

Step 4: Build Your Phased Buying Roadmap

Phase 1: Silent Essentials ($500-800 / 6 weeks)

  1. Adjustable dumbbells (10-40 kg)
  2. Flat bench
  3. Cork + rubber mat stack (measure room; typically 2.4 m × 1.8 m = ~€300-400)
  4. Resistance bands or cable stack (if available; ~€100-150)

Output: Full-body apartment hypertrophy training 3-4× weekly; 15-20 sets per muscle group.

Phase 2: Rack & Vertical Loading ($800-1,200 / months 2-3)

  1. Wall-mounted or compact power rack (adjust ceiling clearance)
  2. Safety squat bar or dumbbell goblet squat accessory
  3. Bench with leg attachment

Output: Rack-based barbell movements; unloaded plates eliminated.

Phase 3: Specialization ($400-700 / months 4-6)

  1. Landmine attachment
  2. Leg extension / leg curl station (mechanical or cable)
  3. Lever-based equipment (belt squat, T-bar row) or additional cable attachments

Output: Higher frequency isolation work; precision drop sets; sub-10 dB finisher noise.

Phase 4: Quiet Cardio (Optional; $500-1,500 / months 6+)

  • Magnetic rower: ~75 dB at 1 m (quieter than belt tread) If you're choosing between technologies, our water vs air rower comparison breaks down noise, feel, and footprint for apartments.
  • Assault bike (air): ~80 dB at 1 m (loud but impacts floor less)
  • Avoid: motorized treadmill (~90 dB), chain-drive rower (~85 dB)

Step 5: Actionable Layout Assembly

Now that you've mapped constraints and equipment, apply this checklist:

  • Mark your lift zones: squat/press platform (center), bench area (safe fallback), cable/isolation corner
  • Test walk-throughs: Simulate a session; ensure no obstacles or door conflicts
  • Vibration isolation placement: Center heavy equipment on cork + rubber; ±30 cm offset from bedroom/shared walls if possible
  • Cable routing: Use spiral wraps or clips; cable mess is silent clutter
  • Fold-away assignments: Bench folds up or rolling attachment; mat can roll and store vertically
  • Noise windows: Identify 2-3 quietest times (early morning, midday, late evening) for high-impact work; use phase 3-4 isolation on boundary times

Your Next Move

Pull out a measuring tape. Sketch your room. Drop a test weight and listen. Then crosscheck your ceiling height, footprint, and noise tolerance against the phase 1 essentials list. You now have the data to purchase with confidence, no second-guessing, no returns, no neighbor apologies.

The room isn't an obstacle. It's your blueprint.

Related Articles