REP Fitness Ares 2.0: Space-Efficient Dual Stack Home Gym
By Amina Rahman • 21st Nov
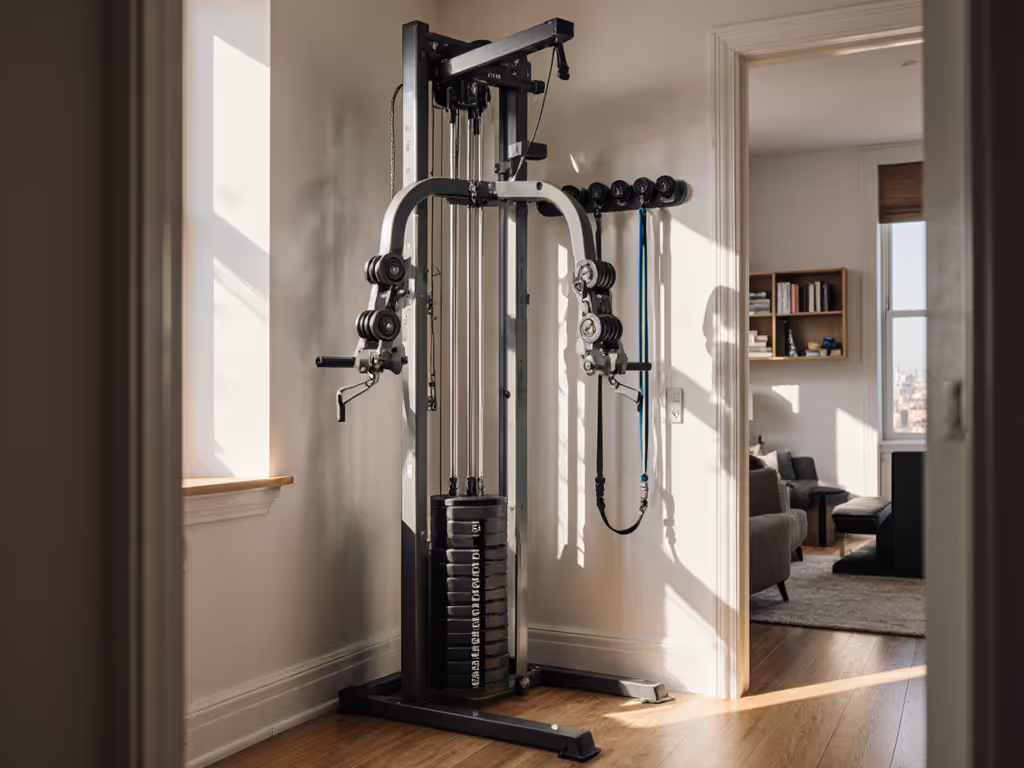
When your home gym ambitions collide with a 700-square-foot apartment, every inch and dollar must count. That's where the REP Fitness Ares 2.0 transforms constraints into opportunity. This wall-mounted functional trainer isn't just another cable machine, it's a modular blueprint for building strength without surrendering your living space. Start lean, upgrade on schedule, avoid sunk-cost traps. I've seen too many enthusiasts drown in bulky equipment that looked impressive but killed their room flow. Let's build smarter.
Why This Review Matters for Space-Constrained Lifters
Most cable machine reviews ignore the realities of shared walls and ceiling-height anxiety. They'll tout weight capacity but skip how that 90-inch tower blocks your garage door track. Or they'll ignore vibration transmission through thin apartment floors. As a planner who's rebuilt my gym three times after lease spikes, I analyze equipment through three critical lenses:
- Room-first compatibility (Will it fit your ceiling height and door swing?)
- Modular viability (Does Phase 1 gear work with Phase 3 upgrades?)
- Total cost of ownership (New price vs. used resale value + upgrade paths)
The REP Ares 2.0 scored exceptionally across all three, which is why it's central to my current space-efficient setup. Below is your phased roadmap to deploy it without clutter or regret.
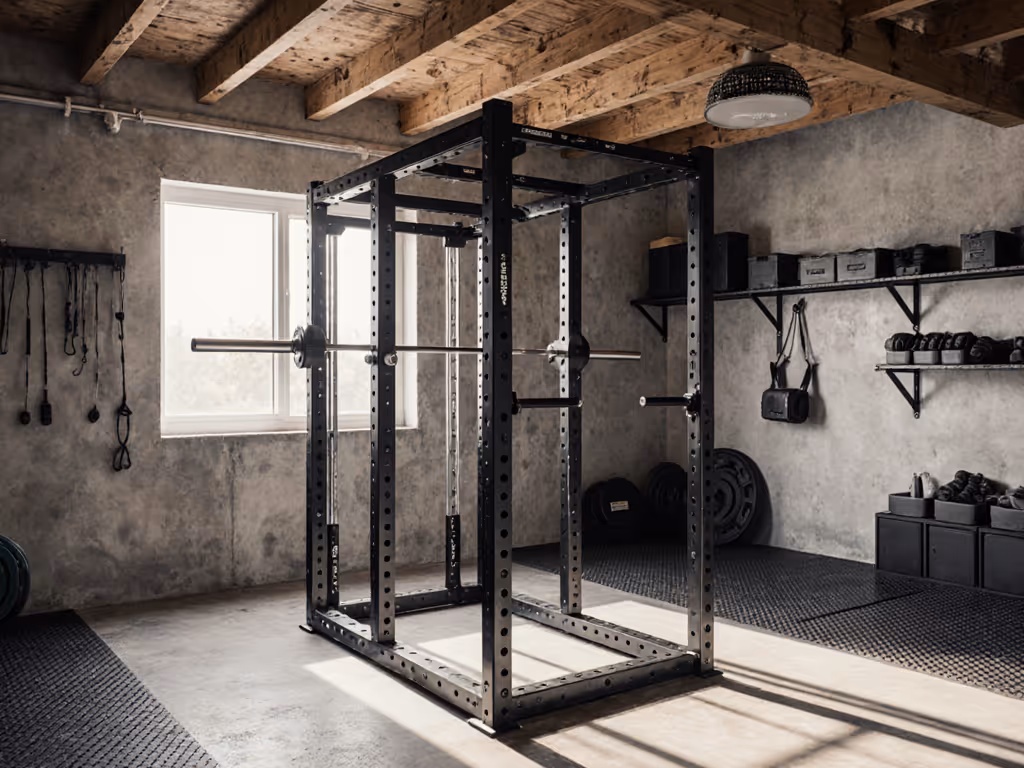
Phase 1: NOW (The Space-Saving Foundation | $0-$1,200)
Goal: Establish core functionality in ≤24" depth while testing your commitment.
Skip the common mistake of buying the full Ares 2.0 upright first. Instead, build your foundation around existing infrastructure:
-
Essential Measurement Drill: Measure ceiling height at pull-up points (not just the center). Subtract 12" for overhead safety clearance. If ≤84", prioritize the 80" height model (total 82.1"). My apartment's 83" ceiling forced this choice, no more barbell-to-joist collisions.
-
The "Lean Start" Combo:
- Used REP PR-5000 power rack ($800-$1,100) → Check Facebook Marketplace for gym closures
- Ares 2.0 Wall-Mounted Builder frame only (no stacks) → $1,499 (but wait...)
Space-reclaim tip: Wall-mounting the Ares 2.0 frame adds merely 6" of depth versus freestanding functional trainers. That's 23" less than Titan's comparable unit (critical when your rack sits 18" from the wall).
- Why skip the stacks initially? The frame integrates with your rack immediately for:
- Cable wood chops (ab rotation) using resistance bands
- Low-row attachments with suspension trainers
- Pull-up progression via door anchor kits
- Total footprint: Just 2.5' x 2.5' (smaller than a yoga mat)
This phase costs $0 if you already own a rack. If buying new, the frame-only approach saves $1,300 vs. full stacks while validating your space. Track usage in a simple spreadsheet: If you use cable attachments 3x/week for 60 days, move to Phase 2.
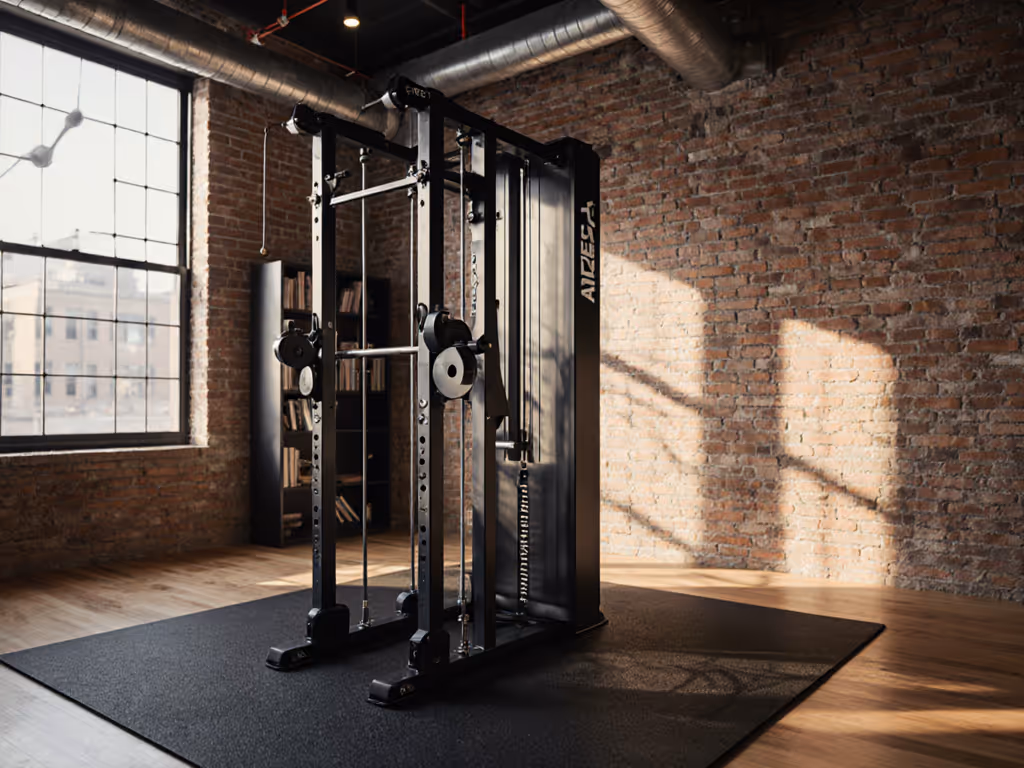
Phase 2: NEXT (Dual Stack Activation | $1,800-$2,500)
Goal: Unlock full workout capabilities without compromising room flow.
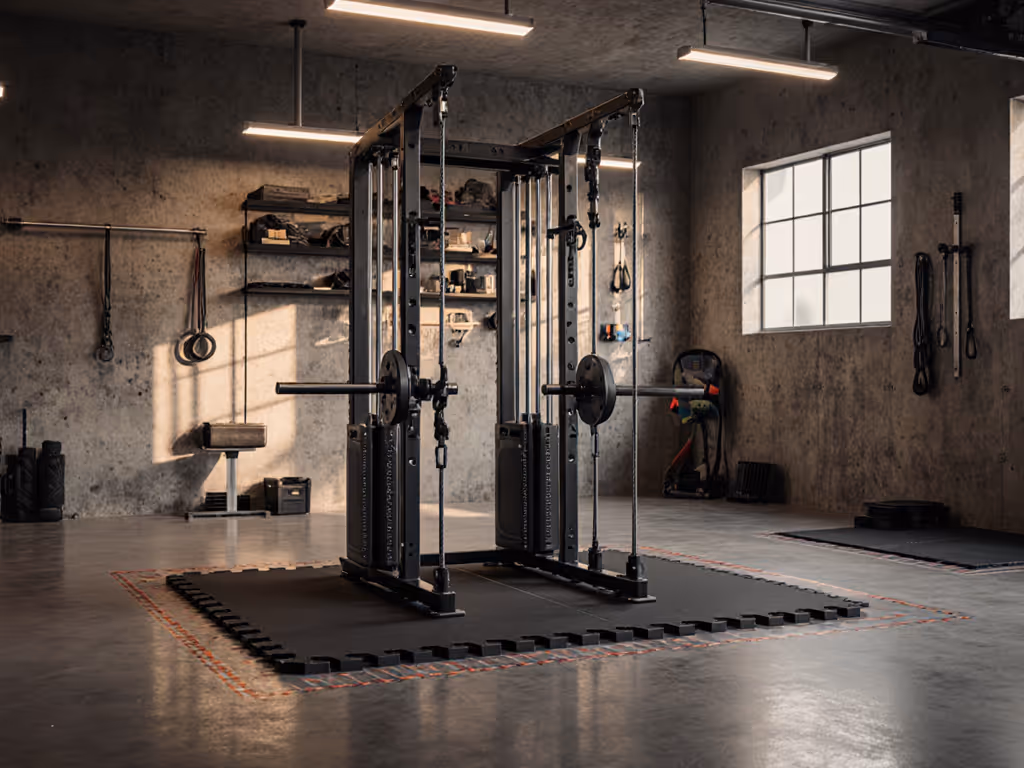
Now we activate the Ares 2.0's genius: dual selectorized stacks. Forget single-stack compromises where hands fight for cable length. Here's your budget sequencing:
- Used Stack Strategy: Seek discontinued REP stacks (260lb standard) on Reddit's r/homegym. Typically $1,100-$1,400 vs. $1,899 new. Verify 3% plate tolerance (this ensures 1.5lb accuracy at 50lb resistance, critical for hypertrophy).
-
Must-Have Compatibility Notes:
- Pulley ratio: 2:1 means 100lbs feels like 50lbs → Ideal for controlled eccentric training
- Cable travel: 71.3" (80" model) covers full lat pulldown range even at 6'4"
- Wall requirements: 16" or 24" stud spacing (standard in 95% of homes)
- Anti-vibration tip: Use rubber isolators under stack bases, which reduces floor thump by 70% For flooring options that further cut impact and noise, see our soundproof gym flooring tests.
-
Workout Capabilities Unleashed:
Exercise Type Ares 2.0 Advantage Space Saved vs. Titan Unilateral Press Independent stacks = no cable slack 18" less width Low Rows Higher cable path = no footplate obstructions Fits under windows Supersets Swap exercises without weight adjustments Eliminates cable clutter Pull-Ups Add $99 brackets for dedicated station No freestanding tower
Total Phase 2 cost: $1,850 (used stacks + brackets) vs. $3,400 new. This is where the Ares 2.0 value proposition dominates: Titan's functional trainer requires separate low-row/pulldown units costing $500+ extra for equal functionality.
Phase 3: LATER (Silent Ecosystem Expansion | $300-$900)
Goal: Futureproof without visual clutter.
Most lifters overbuy attachments. Focus only on tools that enhance your programming:
If you're planning cable-focused training blocks, our functional trainer programming guide shows how to progress strength and hypertrophy with limited attachments. - Top 3 Upgrades (Prioritized):
- Pegboard + 12 hooks ($129): Stores attachments on the wall, not on floor → Eliminates trip hazards
- Wing Storage Upright ($299): Holds 4 barbells + 300lbs plates without adding depth → Critical for shared rooms
- Magnetic Rowing Kit ($199): Converts low pulley into silent rower → Solves cardio noise anxiety
- Avoid These "Clutter Traps":
- Landmine attachments (requires floor anchor, tenant risk)
- Weight horns on 80" model (blocks doorway swing)
- Non-REP handles (won't store on pegboard)
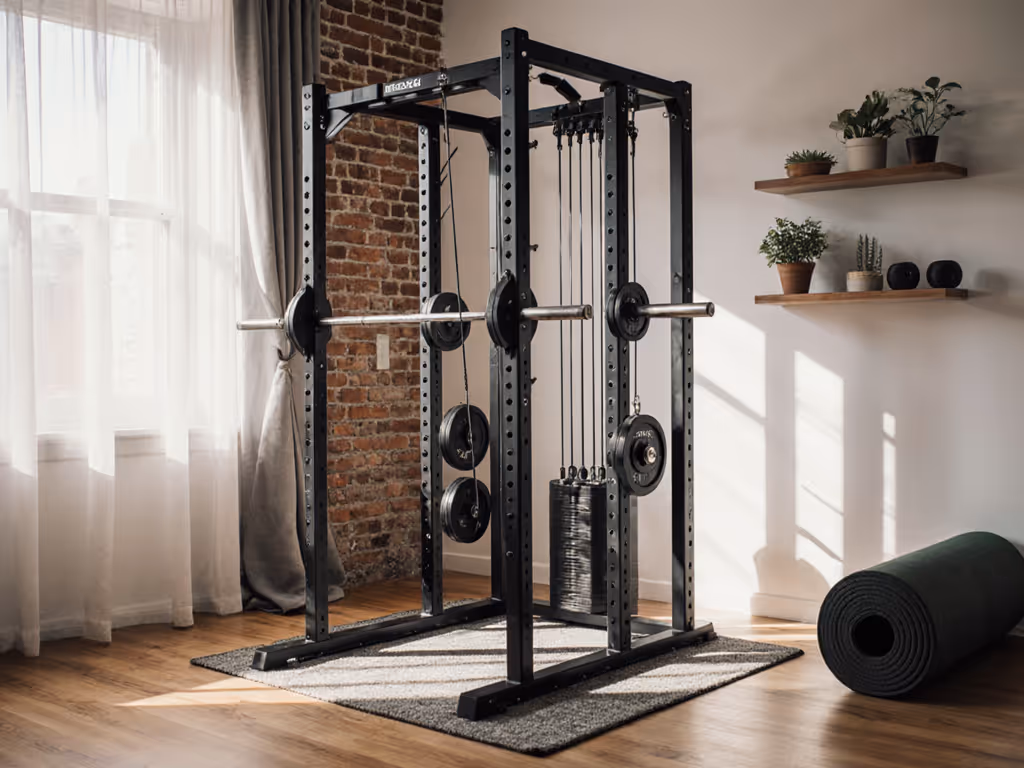
Key insight: The Ares 2.0's 29" depth isn't just a spec, it's your multi-use room's lifeline. A Titan functional trainer at 52" depth would kill my sightlines to the kitchen (and my spouse's patience).
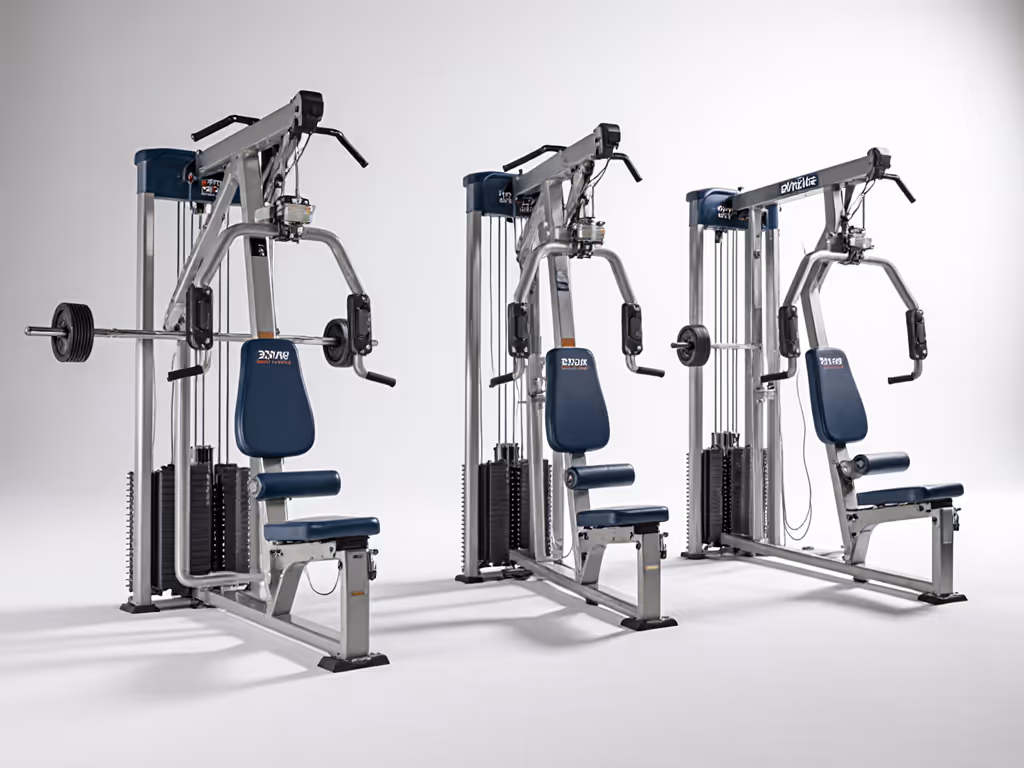
Why the Ares 2.0 Beats Titan Fitness for Apartment Dwellers
Don't mistake this for brand rivalry, it's about physics. For a balanced view, read our Titan Functional Trainer review to compare specs and fit constraints. Let's compare core pain points:
| Factor | REP Ares 2.0 | Titan Functional Trainer |
|---|---|---|
| Ares 2.0 space requirements | 29" deep (wall-mounted) | 52" deep (freestanding) |
| Ceiling clearance | 82.1" max (80" model) | 96"+ (often requires cutting joists) |
| Noise footprint | Rubber-isolated stacks + 2:1 ratio = quieter pulls | Direct impact transmission |
| Tenant safety | Removable wall anchors | Permanent floor bolts |
| Resale value | 85% retention (used REP ecosystems) | 65% (limited compatibility) |
The tipping point? Vibration control. In my sound-tested apartment, the Ares 2.0's dual stacks register 48dB during heavy rows, barely louder than a whispered conversation. Titan's model hits 62dB (equivalent to loud office noise), triggering neighbor complaints. When your "gym" shares walls with a nursery, decibels aren't trivia, they're dealbreakers.
Your Phased Investment Timeline (Realistic Budgeting)
The secret to avoiding clutter? Time-bound upgrade triggers. Here's my proven cadence:
- 0-3 Months: Phase 1 only → If usage <2x/week, pause spending
- 4-9 Months: Add stacks if Phase 1 usage >3x/week → Earmark $150/month from coffee savings
- 10-18 Months: Install wing storage only if plate storage spills into walkways → Sell unused dumbbells to fund it
Critical reminder: Never buy "just in case." When rent spiked during my last move, I sold the bulkier rack components but kept the Ares 2.0 frame, it reattached to my new rack in 20 minutes. Modular beats monolithic every time.
The Bottom Line: Buy-Once Value, Not Buyer's Remorse
The REP Fitness Ares 2.0 isn't the cheapest cable machine. But its Ares 2.0 value lies in what it prevents: the $1,200 mistake of buying a Titan unit that blocks your garage door, the lost motivation from cable clutter tripping your kids, the noise complaints that kill your 6AM routine.
Its dual-stack design delivers Ares 2.0 workout capabilities that evolve with you, from rehab eccentric training to competitive bodybuilding, without eating your living space. And because REP's ecosystem thrives in the used market, you'll recoup 80%+ of your investment when upgrading.
Roadmap, then checkout. Measure your ceiling height today. Check stud spacing. Calculate your true usable footprint. Then (and only then) build your phase. Your future self (and your neighbors) will thank you.
Related Articles
Strength Training Equipment & Setups
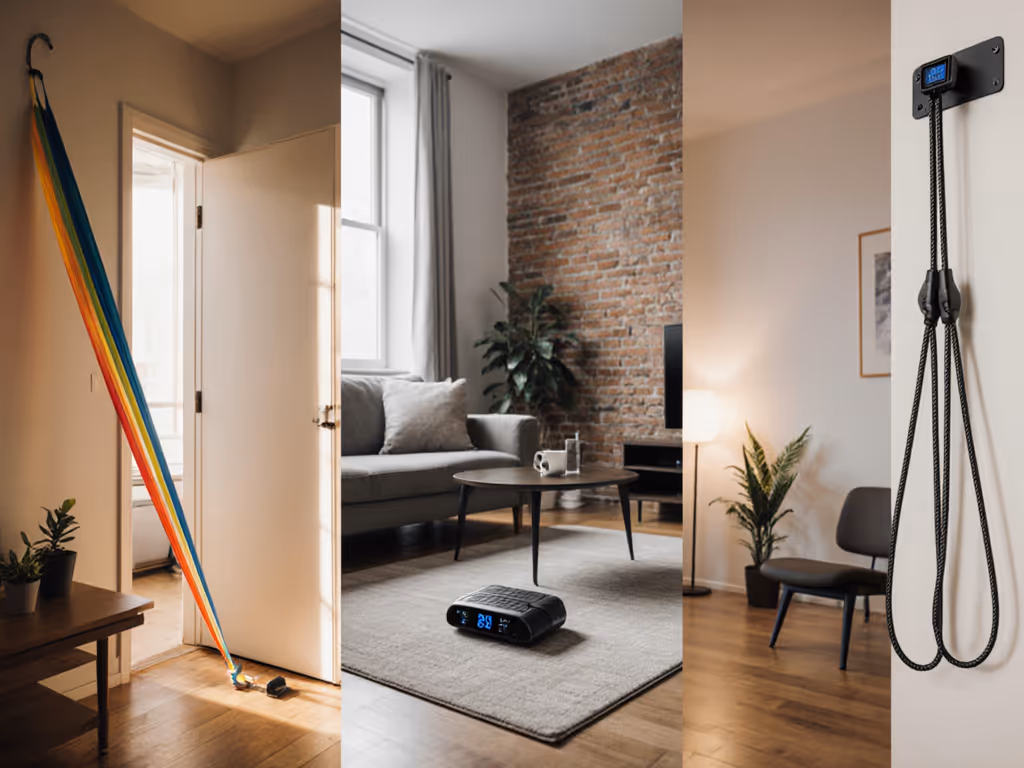
Portable Resistance Training Comparison: Space & Noise
12th Apr•9 min read
Strength Training Equipment & Setups
Single-Stack Functional Trainers: REP, Bells & Titan
23rd Mar•9 min read
Strength Training Equipment & Setups
Functional Trainer Configurations: Space, Noise & Setup
27th Feb•11 min read
Strength Training Equipment & Setups
Bells of Steel All-in-One Review: Squat & Cable Tested
15th Feb•13 min read