Training & Programming with Limited Equipment
Apartment Hypertrophy Blueprint: Equipment & Program
8th Apr•8 min read
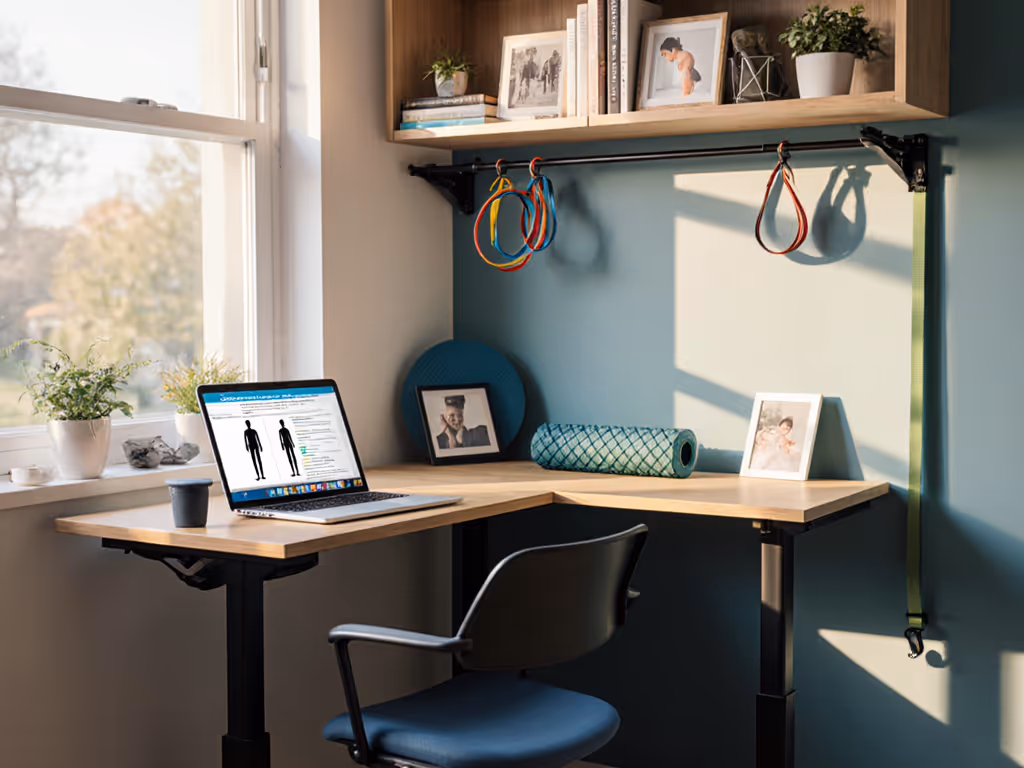
If your workday revolves around a desk, your posture home gym setup likely feels impossible to prioritize. Rounded shoulders, forward head posture, and a collapsed spine aren't vanity issues (they're friction points that drain energy, invite pain, and make consistency harder). The good news: home workout exercise equipment doesn't need to be complicated. Small wins compound when your space lowers friction daily. What matters most is a room-first layout, quiet operation, and just enough gear to reverse desk damage without overwhelming your space.
Build a silent, desk-correcting sanctuary in whatever room you have (apartment, spare bedroom, or basement corner). No mega-racks or noise complaints required.
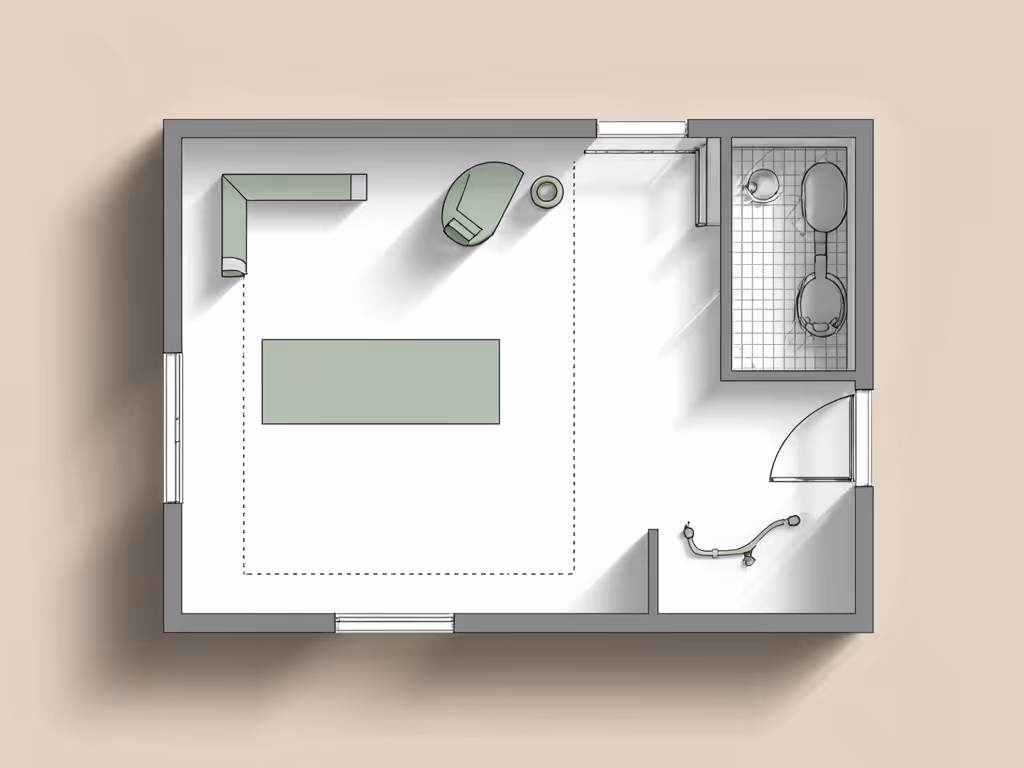
Before buying anything, measure twice. Your home gym for rounded shoulders and desk posture correction thrives on clarity.
Do This Now:
Once you have these numbers, sketch a rough floorplan. For room-first planning in tight areas, see our small space home gym layout guide. This isn't about perfection (it's about avoiding buyer's remorse). A quiet ergonomic training space thrives when your layout works with your home, not against it. Measure one more time if you're renting; landlord restrictions on anchors or floor loads can reshape your entire plan.
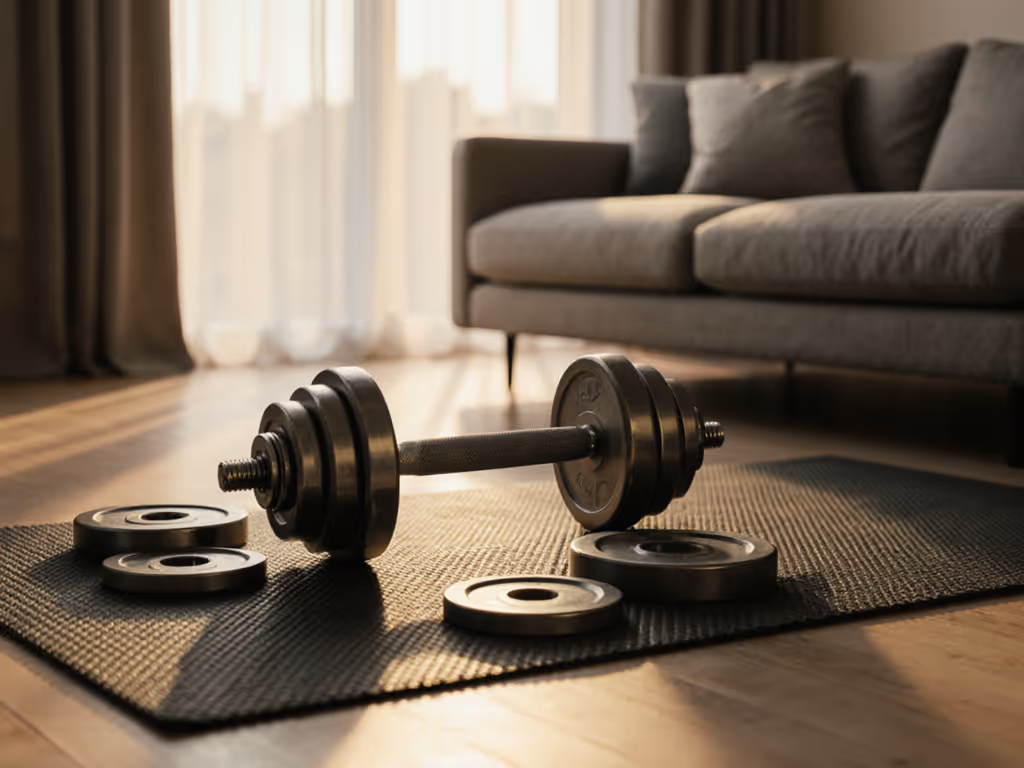
The posture-fixing essentials are three: a resistance band, a yoga mat, and a stable spot on the floor. These form the skeleton of your setup.
Why These Three?
If your ceiling allows (at least 7.5 feet clear), add a pull-up bar. Even a temporary doorway option works. Pull-ups build back strength that erases rounded shoulders. But it's optional; bands alone get the job done.
Noise Etiquette Tip: Resistance bands make zero impact noise. Yoga mats muffle floor work. Doorway pull-up bars create zero vibration. This trio is apartment-proof.
Once your space is ready, your routine must target three zones: upper back, core, and mobility. This sequence mirrors what effective posture work demands.
Start with cat-cow stretches on your mat. This mobilizes the spine and preps your nervous system. Move slowly; breathe with intention. No timer needed, just feel the movement.
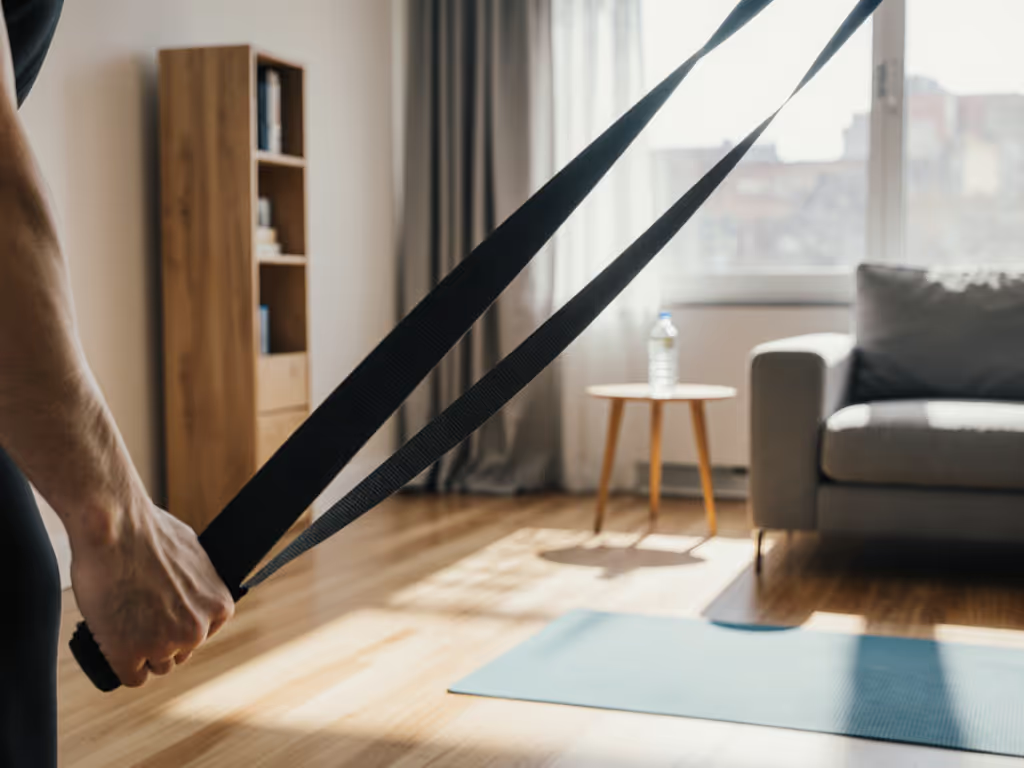
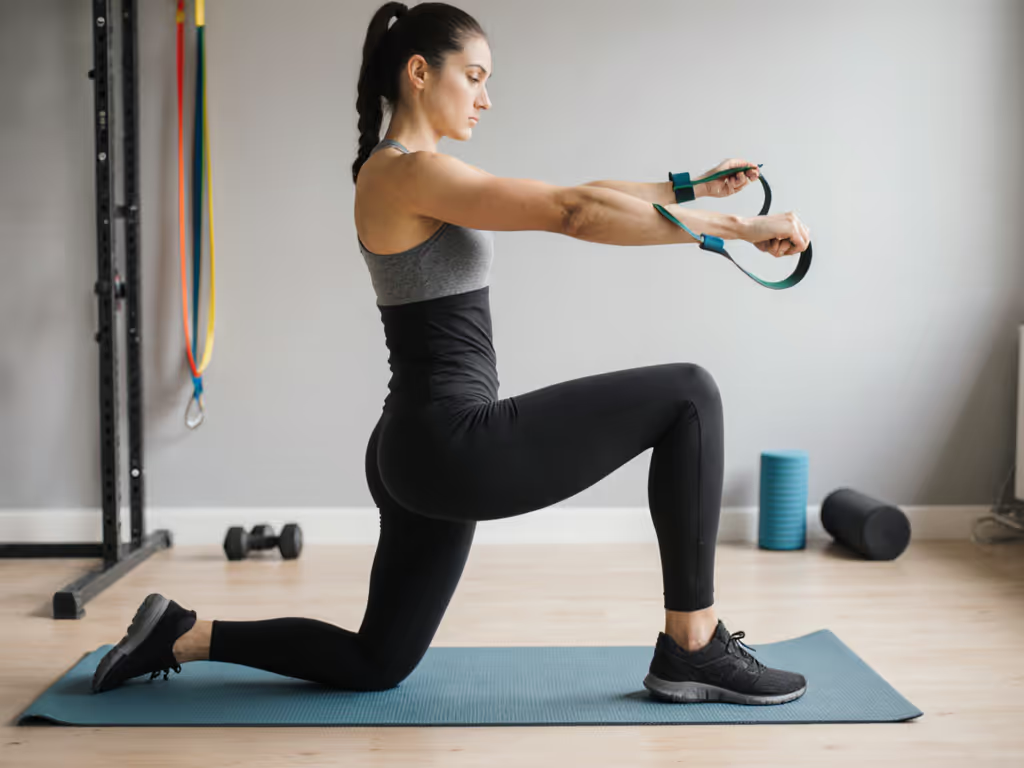
Band pull-aparts: 3 sets of 12 reps. Hold a resistance band shoulder-width apart, arms at chest height. Pull the band toward your sternum, squeezing your shoulder blades together. This erases forward shoulder posture.
Prone press-ups: 2 sets of 10 reps. Lie on your belly, hands flat by your shoulders. Press gently upward, bending your back without locking your elbows. This strengthens the upper back and improves spinal extension.
Glute bridges: 3 sets of 15 reps. Lie on your back, knees bent, feet flat. Drive through your heels and squeeze your glutes hard as you lift your hips. A strong posterior chain is the foundation of upright posture.
High plank: 3 sets of 20-30 seconds. Shoulders stacked over wrists, body in one line. Engage your core to prevent sagging. This builds endurance for desk-sitting correction.
End with child's pose. Sink your hips back toward your heels and fold forward with your arms extended. Hold for 2 minutes. This releases tension in the lower back and shoulders (two of the loudest posture offenders).
Consistency beats complexity. During a challenging season, my parents started a five-day-a-week living-room routine with nothing but a mat, resistance bands, and silent tempo timers. Everything lived in a basket and vanished after each session. No neighbor complaints, no equipment guilt, just steady progress. That's the power of friction-free design.
Your reset ritual is your lever for change.
Do This Now:
Your brain craves this simplicity. When setup takes 30 seconds and teardown is automatic, you remove the friction that stops people.
You're not the only one in your building, and neighbor harmony matters. Here's how to train without friction:
Quiet isn't a limitation, it's a feature. If you're in a multi-unit building, follow our apartment gym noise control guide for vibration isolation and timing strategies. Your neighbors stay asleep, your household stays peaceful, and your training doesn't apologize.
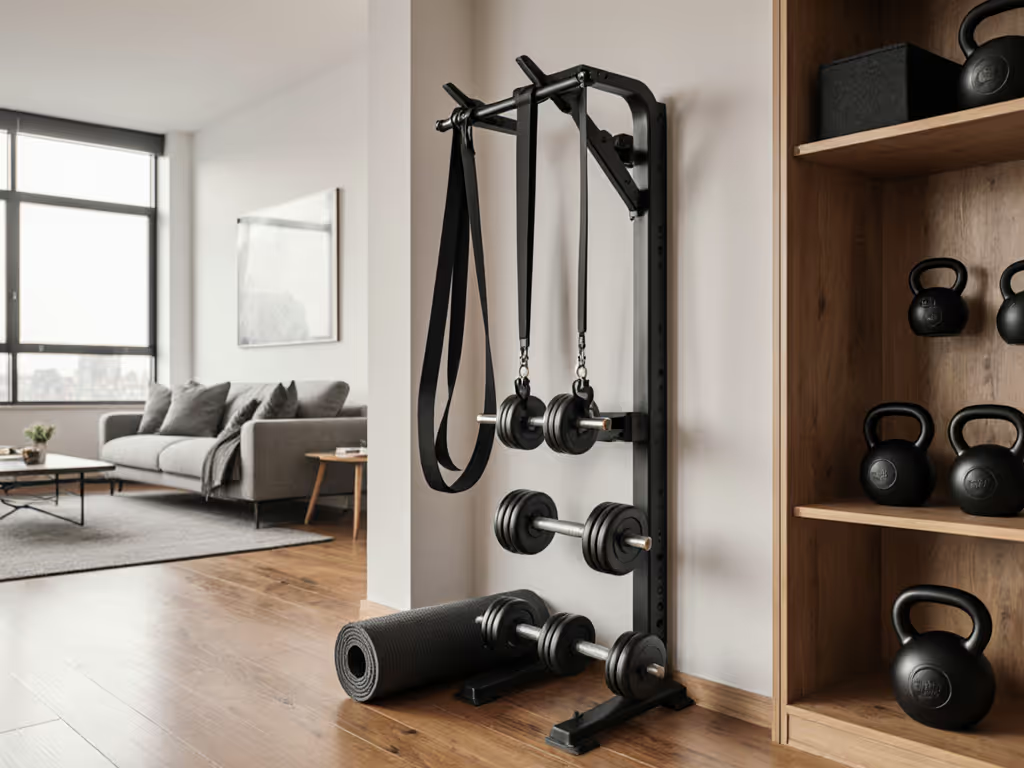
Once you've built consistency, you can expand without restarting.
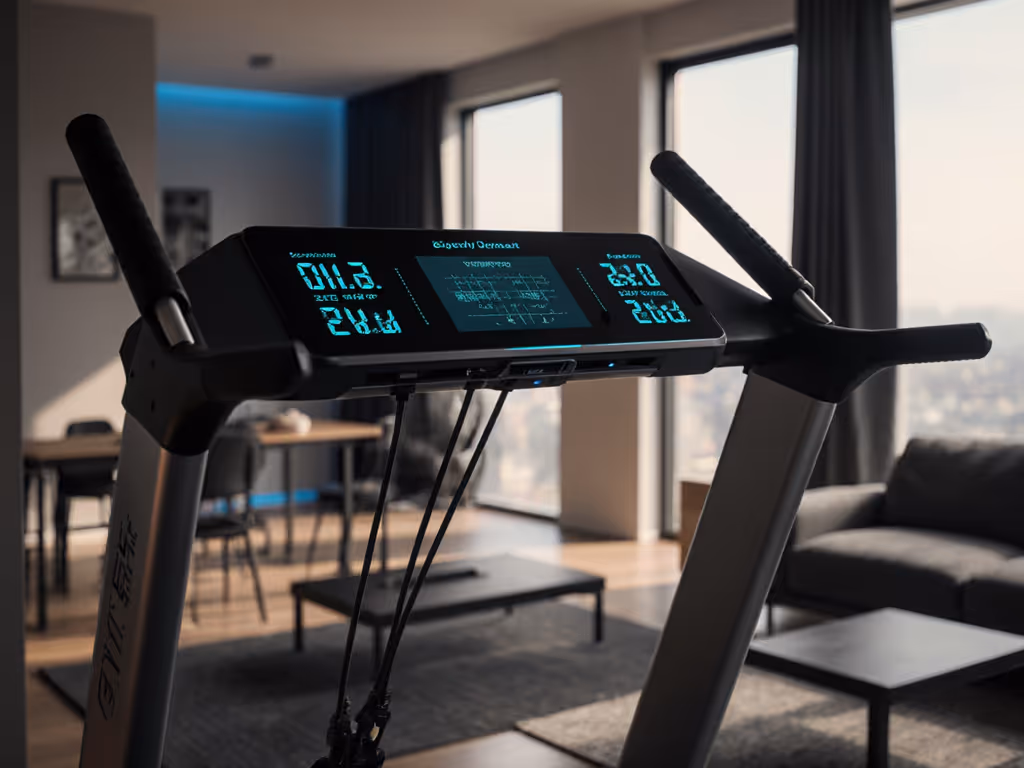
Each upgrade answers one question: Does this move my posture goals forward, or does it add clutter? Say no to noise-making machines and space-hogging novelties.
Don't overthink this. Take 20 minutes today to measure your space, note your ceiling height, and identify where your mat will live. Tomorrow, order a basic resistance band set and a yoga mat. Next week, film yourself performing one band pull-apart so you can see your shoulder position. In 30 days, your body will thank you.
Posture work isn't glamorous, but it compounds. Small wins compound when your space lowers friction daily. Start this week.