Olympic Lifting Home Gym Setup: Space-Smart Solutions
By Priya Natarajan • 5th Dec

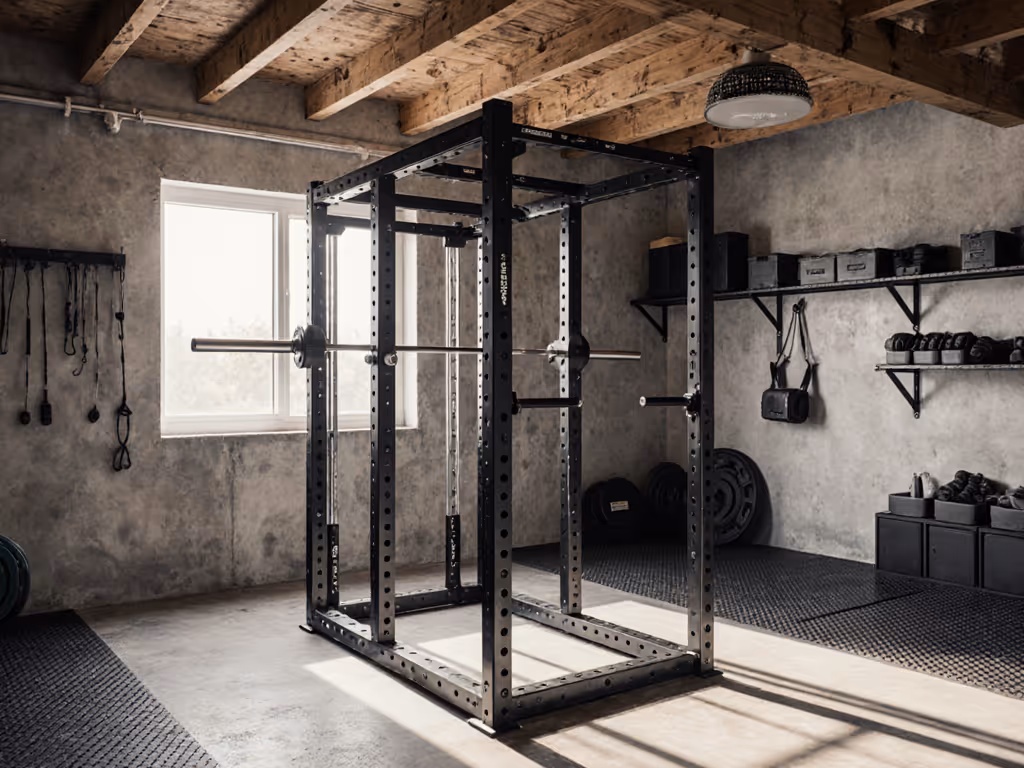
Setting up effective home gym weight equipment for Olympic lifting doesn't require a warehouse-sized space. With smart planning, your home Olympic lifting equipment can fit neatly into apartments, basements, or even converted living spaces without disturbing neighbors or disrupting your household flow. If noise is a concern, see our apartment gym noise control guide for soundproofing strategies that actually work in multi-unit buildings. If you've ever felt trapped between your lifting dreams and your spatial reality, you're not alone, I've guided dozens of urban lifters through this exact tension. The secret isn't buying more gear; it's designing for consistency within your actual environment.
Step 1: Measure Twice, Order Once (Your Space Reality Check)
Before touching a single plate, map your space like a tactician. Olympic lifts need clearance for both movement and mental comfort, not just height but swing radius. Grab a tape measure and note:
- Ceiling height at your lift zone (9 feet is ideal for full overhead work)
- Floor-to-ceiling obstructions (joists, lights, garage doors)
- Door swing paths and furniture boundaries
- Floor composition (concrete, hardwood, carpet over subfloor)
Noise etiquette tip: Thin floors transmit vibration worst between 8 PM and 8 AM. If you live above others, schedule heavy lifts for midday and prioritize rubber mats over steel platforms.
Do-This-Now Box:
- Sketch your room to scale (1 square = 1 foot)
- Mark "lift zone" as a 6'x6' square with 2' clearance on all sides
- Verify ceiling height includes bar whip (add 6" beyond your tallest position)
- Snap a photo of your measurements, send it to your future self when impulse-buying gear
Step 2: The Quiet Foundation: Floor Protection That Works With Your Space
Your floor solution makes or breaks neighbor harmony. Skip the 8'x8' wood platform if you're in a rental or tight space. It eats precious square footage and screams "permanent gym." Instead, consider:
- Modular interlocking tiles (3'x3' sections you can reconfigure)
- Commercial-grade rubber mats (1/2" thick minimum for deadlifts)
- Vibration-dampening isolation pads under rack feet
For weightlifting platform setup in constrained spaces, prioritize portability. I helped one client in a Brooklyn brownstone use two 4'x6' garage mats that slide under the couch when not lifting. She lost the "will I damage floors" anxiety that had stalled her progress for months.
Step 3: Choosing the Right Olympic Barbell for Home Use
Not all Olympic barbell home use scenarios require competition-grade whip. For space-constrained homes, consider:
- Shorter specialty bars (7' instead of 7'10")
- Women's bars (25mm shaft) if you have smaller hands or space limitations
- Bars with black oxide finish (quieter clank than chrome)
Your bar choice affects your entire ecosystem. A standard bar needs 7 to 8 feet of clearance for full lifts, while compact racks sometimes require specific bar lengths. Measure your rack depth before ordering. For spacing, anchoring, and safety details, use our power rack setup guide as a checklist. Many "apartment-friendly" racks shrink the pull-out distance but don't accommodate standard bar length.
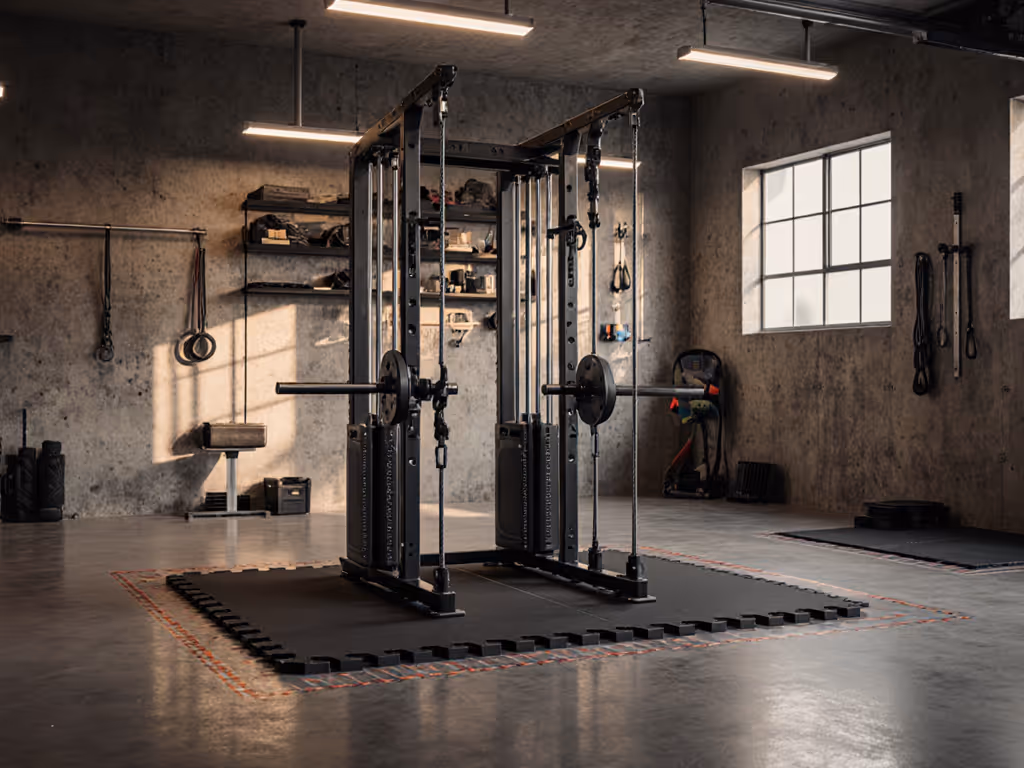
Step 4: Smart Space Planning for the Snatch and Clean & Jerk
Snatch, clean, and jerk equipment needs intelligent spatial choreography. Create zones that flow:
- Warm-up area: Near natural light with just a mat and bands
- Primary lift zone: Where your rack lives with full clearance
- Accessory corner: Compact storage for plates/bands near a wall mirror
Reset ritual: Place a small basket next to your rack where you immediately return clips, collars, and smaller plates after each session. This single habit prevents gear sprawl from eating your living space.
Do-This-Now Box:
- Use painter's tape to mark your primary lift zone on the floor
- Position your rack so the bar path faces away from windows/doors
- Install a single wall mirror (24"x48" is sufficient) at eye level for form checks
- Place a clip/collar organizer on the rack itself
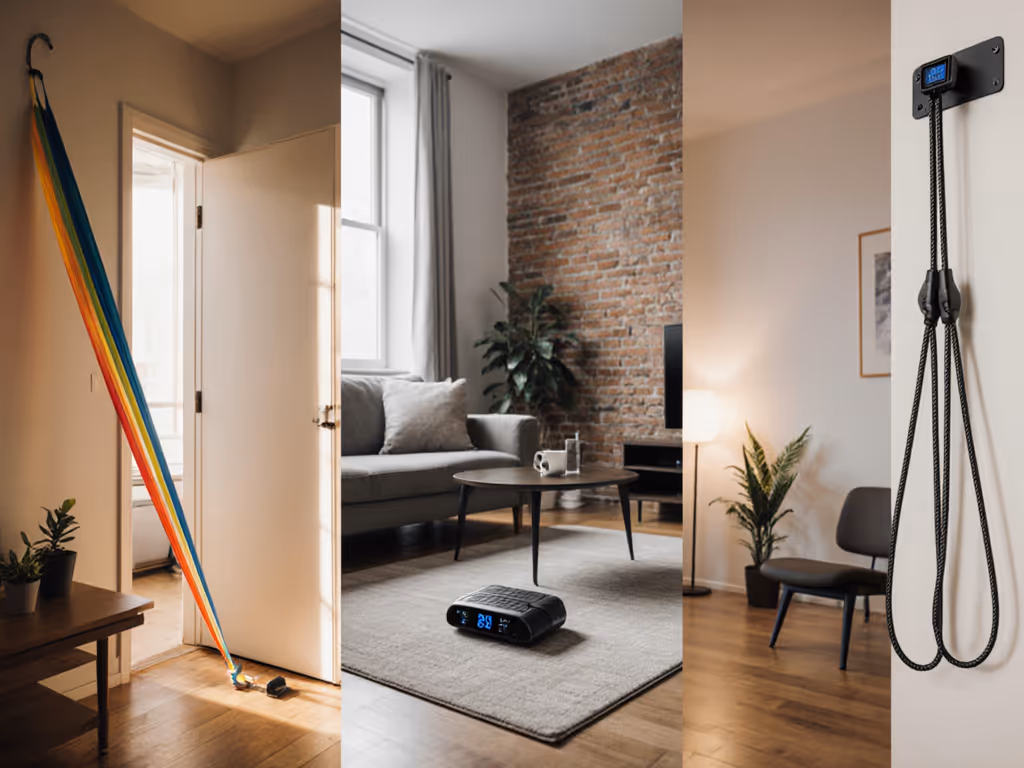
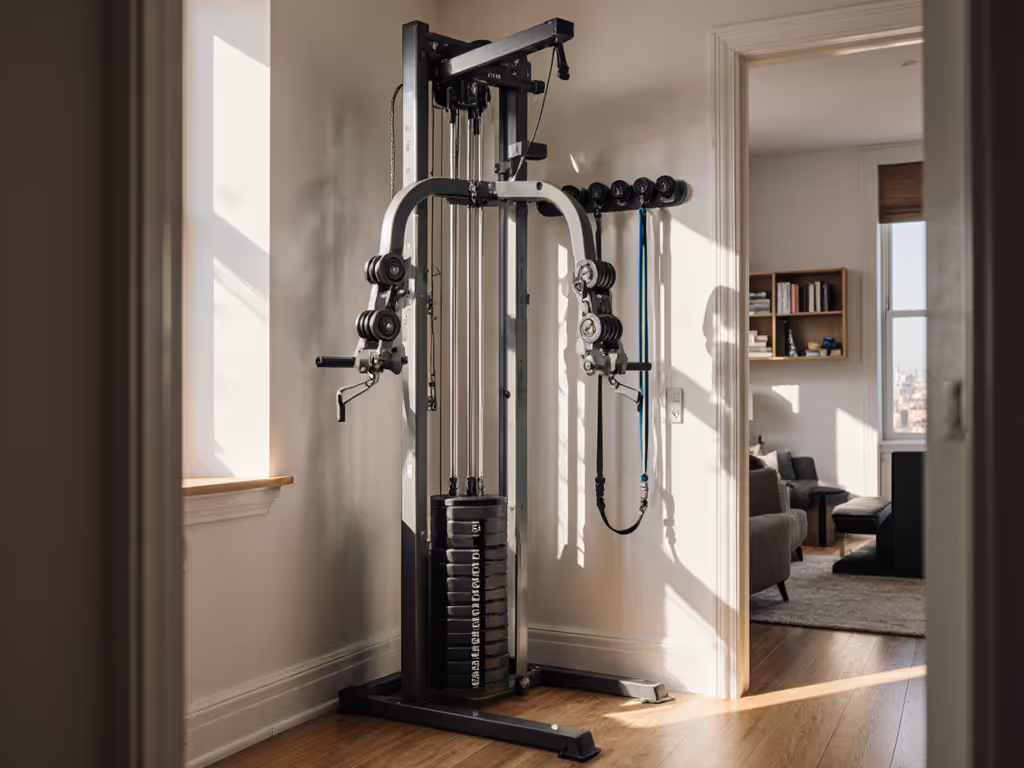
Step 5: The Minimalist Approach to Olympic Lifting Gear
Your home weightlifting space requirements shrink dramatically when you prioritize multipurpose tools. Forget "complete" racks. Build capacity gradually:
- Start with essentials: One barbell, two to three pairs of plates (25lb, 35lb, 45lb), and a compact rack that folds or tucks against a wall
- Add strategic accessories: A landmine attachment serves snatch balances, overhead presses, and core work without extra footprint
- Eliminate noise culprits: Use rubber-coated plates for cleans/jerks and avoid steel-on-steel drops
I remember working with a software engineer in a San Francisco studio apartment. Her entire Olympic setup was a wall-mounted rack, a single bar, and 200lbs of plates (stored vertically in a closet when not in use). She gained more confidence from consistent technique practice than any amount of max weight.
Small wins compound when your space lowers friction daily. This isn't just a nice saying (it is physics). Every time you avoid wrestling with gear placement, you've already won half your workout.
Step 6: The Daily Reset Ritual (Your Secret Consistency Weapon)
Here's where most home gyms fail: they don't disappear. After my lockdown sessions with my parents, we developed a 90-second reset ritual that made our living room routine sustainable. Your gear should vanish as smoothly as it appears.
"Hide it to use it" isn't just my philosophy (it is your spatial reality check). For tidy solutions that disappear between sessions, browse our home gym storage comparison. Design storage that works with your home:
- Plate trees that tuck into closet corners
- Racks with fold-down safety arms
- Bumper plates that stack vertically
- Resistance bands that coil into drawer compartments
Create a "reset checklist":
- Wipe rack/safety arms
- Stack plates by weight
- Return clips to organizer
- Fold bench (if applicable)
- Vacuum chalk residue
This reset ritual takes less than two minutes but preserves your mental space as much as your physical one. No more dreading the "gym eyesore" in your living area.
Your Actionable Next Step
This weekend, run a "spatial rehearsal" without any equipment. Stand in your proposed lift zone and perform air snatches. Note where your elbows brush walls, where your feet hit obstructions, and where the bar path threatens ceiling fixtures. Film yourself from multiple angles. This 10-minute exercise prevents costly mistakes and builds confidence in your spatial plan.
Your home Olympic lifting journey begins not with plates or bars, but with honest space assessment. When your home gym weight equipment fits your reality (not some idealized Instagram version), you've already cleared the biggest barrier to consistent training.
Remember: excellent technique with modest weights in a thoughtful space beats maximal loads in a compromised environment every time. Start where you are, use what you have, and build consistency through simplicity.
Related Articles
Strength Training Equipment & Setups
Portable Resistance Training Comparison: Space & Noise
12th Apr•9 min read
Strength Training Equipment & Setups
Single-Stack Functional Trainers: REP, Bells & Titan
23rd Mar•9 min read
Strength Training Equipment & Setups
Functional Trainer Configurations: Space, Noise & Setup
27th Feb•11 min read
Strength Training Equipment & Setups
Bells of Steel All-in-One Review: Squat & Cable Tested
15th Feb•13 min read