Home Gym Setup, Space & Upkeep
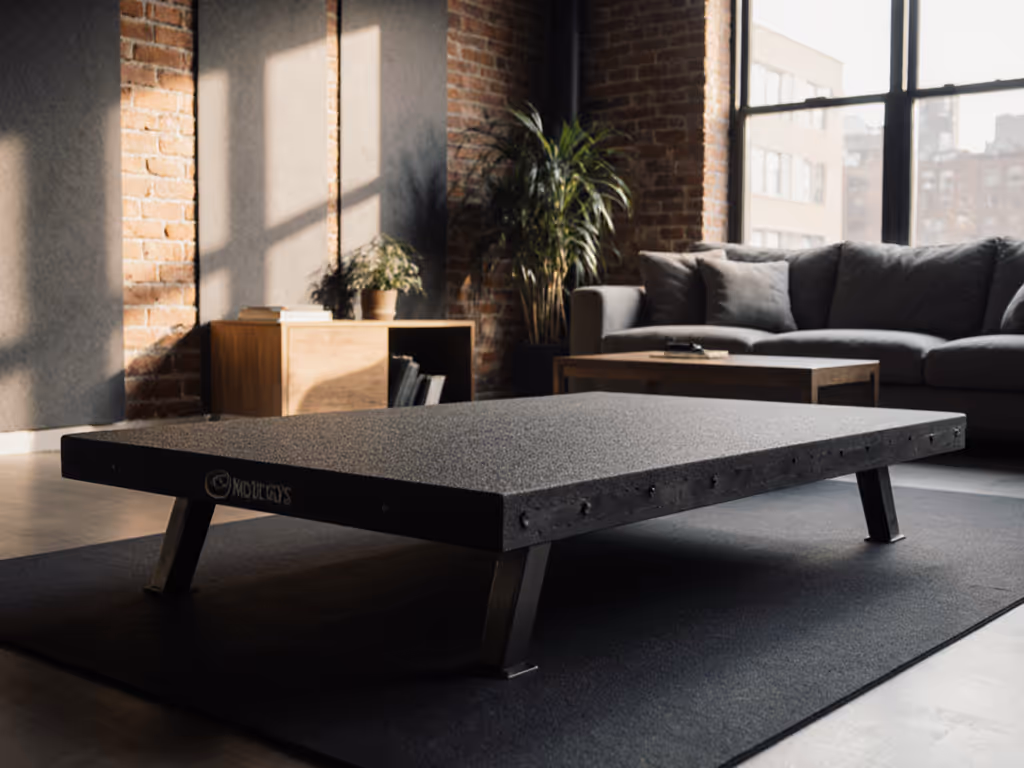
Olympic Platform Review: Noise-Reducing Space-Smart Home Gym
30th Jan•9 min read
Your home gym's workout space illumination isn't just about motivation, it's a critical safety component that often gets overlooked in small-space setups. As someone who's rebuilt my training space three times due to rent spikes and roommate changes, I've learned that proper lighting prevents injuries, optimizes limited square footage, and creates the illusion of more space. When I sold my bulky rack and rebuilt with a fold-flat wall mount, I made lighting part of my modular strategy (starting with the essentials, then upgrading systematically). This guide delivers a phased approach to lighting that prioritizes safety while maximizing your available space, without cluttering your room or budget. Buy once, cry once (strategically)
Poor lighting creates dangerous blind spots that compromise form and safety, especially in tight quarters where equipment placement is already challenging. In a recent industry report, 68% of home gym users cited poor lighting as a contributing factor to near-miss accidents during lifts. When your space is limited (like my current 10'x12' shared room), shadows can hide obstacles, create visual confusion near mirrors, and distort your perception of movement (critical when performing complex lifts in tight spaces).
For small-space trainers, lighting affects more than safety, it influences how spacious your room feels. Strategic illumination can visually expand your workout area, making a cramped apartment gym feel more open. The wrong setup, however, creates oppressive shadows that make your space feel even smaller than it is. When ceilings are low (my current spot has only 8' clearance), overhead lighting placement becomes crucial to avoid creating a "cave effect" that heightens spatial anxiety during workouts. If ceiling height is your limiting factor, see our height guide for tall users for clearance rules and equipment adjustments.
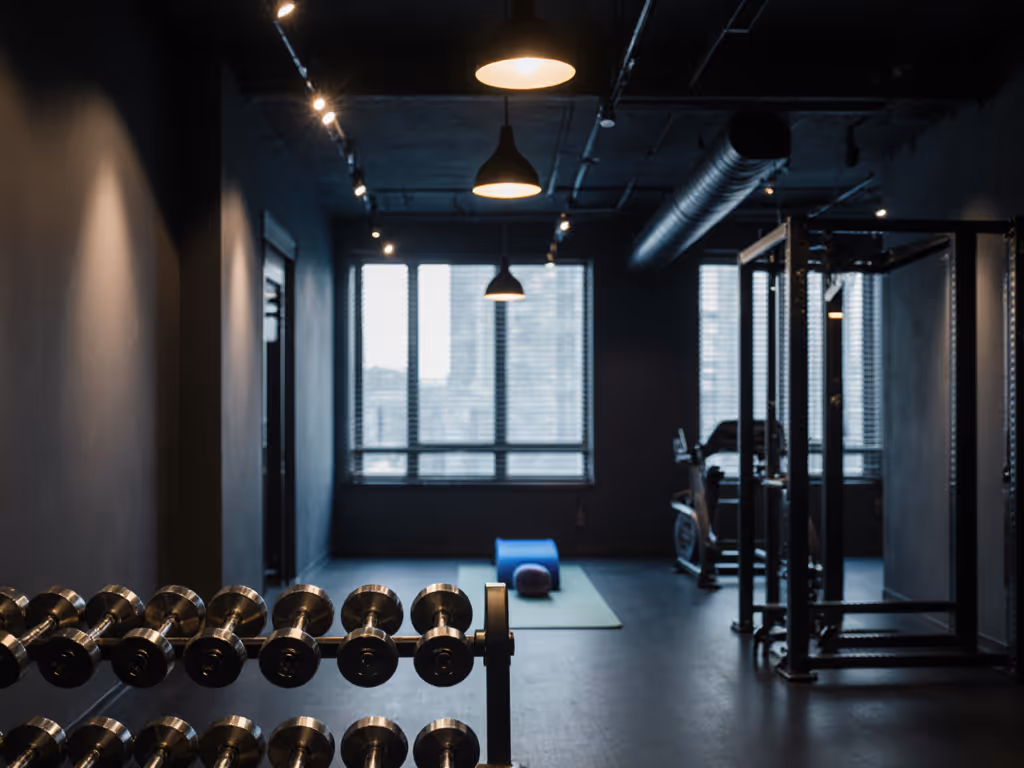
Prioritize uniform coverage at 300 lux minimum, the baseline recommended for safe home gym operation. This is non-negotiable for your immediate setup. Install two LED panel lights positioned diagonally across from each other to eliminate shadows cast by your body during lifts. For renters or those in shared spaces, consider clamp-mounted shop lights (like UL-rated contractor lights) that attach to shelving units or free weights racks without wall modification. Apartment lifters can pair this with our apartment gym noise control guide to keep midnight sessions neighbor-friendly.
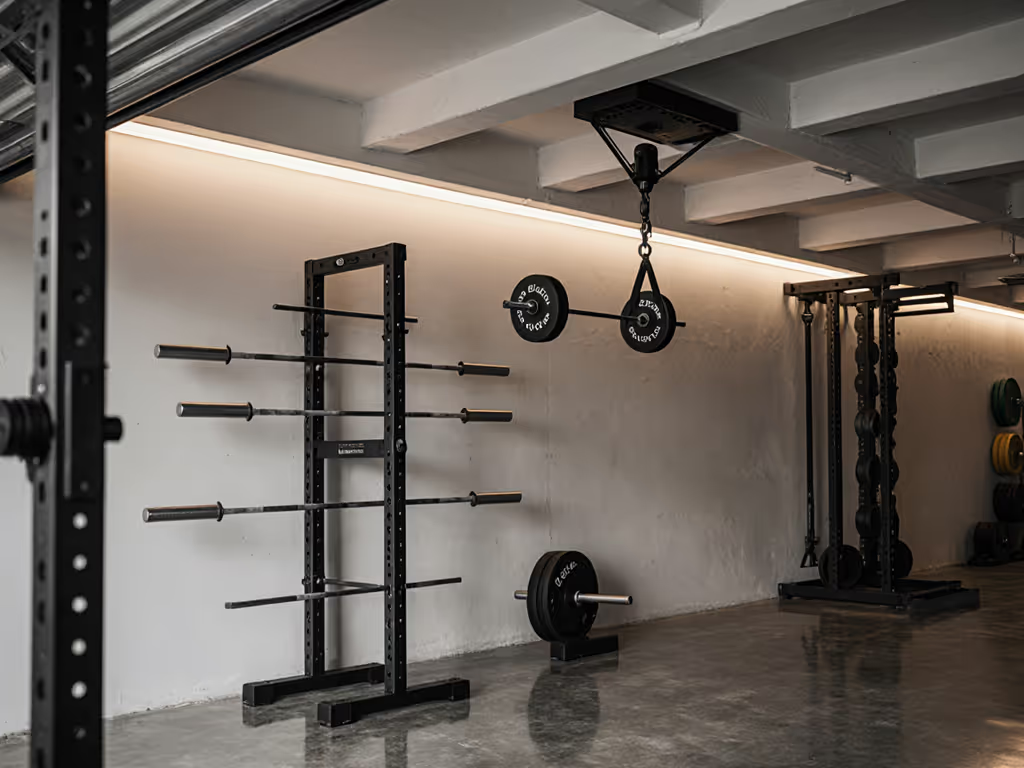
Critical placement tip: Position lights at 8-10 feet high, angled to illuminate both your feet and overhead space (essential when checking clearance for overhead presses or pull-ups). In my apartment gym rebuild, I used magnetic LED strips on my folding rack frame, creating targeted illumination exactly where I needed it without permanent fixtures.
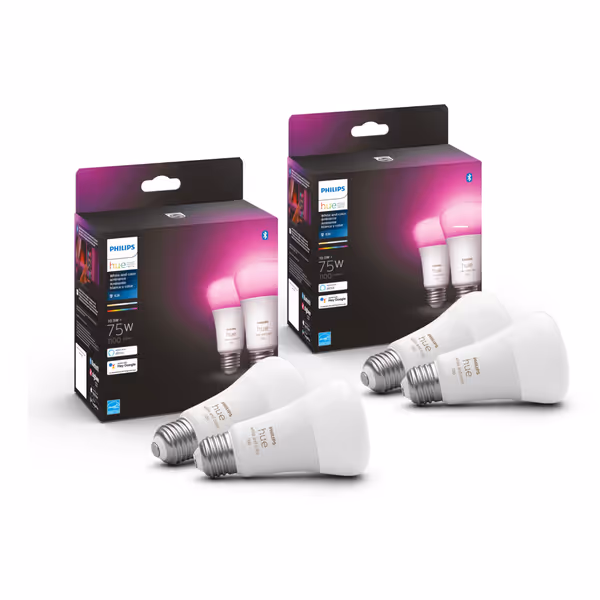
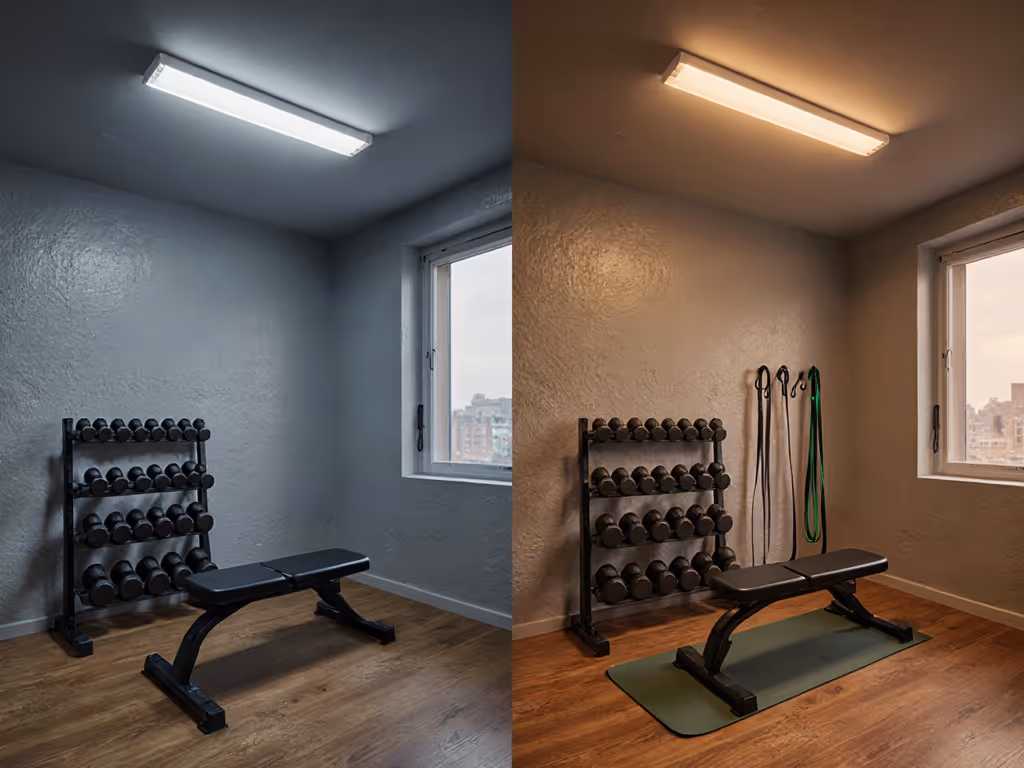
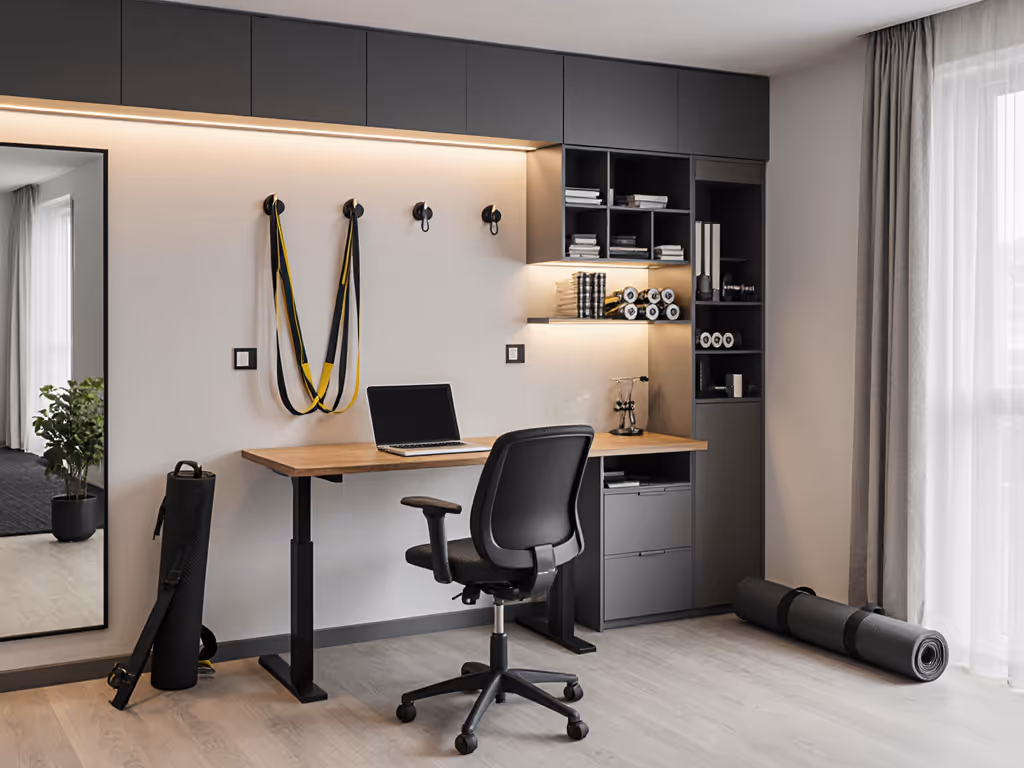
Implement zone lighting to match your workout phases. Cardio sessions need brighter (400-500 lux), cooler light (5000K) to maintain energy, while yoga/stretching requires softer (200-300 lux), warmer tones (3000-4000K). A simple two-circuit switch or smart bulbs allow toggling between these modes without additional fixtures (vital for multi-use rooms that transform from office to gym). If you're leaning into connected gear, our quiet smart home gym guide covers app-enabled equipment that plays nicely with lighting automations.
Add indirect lighting along perimeter walls to reduce eye strain and create spatial depth. LED tape lighting mounted behind equipment (like under a folding bench) provides ambient glow without glare, making your space feel larger. I added mine to the underside of my fold-down wall mount (when deployed, it creates a safety perimeter that marks my training zone in our shared living space).
Automate based on workout schedule with motion sensors that adjust lighting intensity as you move through zones. This preserves your eyes' natural adjustment rhythm while minimizing disruption to others in shared spaces (critical if you're training early morning or late at night). When my rent spiked last year, I skipped this initially but earmarked it in my upgrade spreadsheet for when my cable trainer paid for itself through avoided gym fees.
Mirrors amplify lighting mistakes, position lights parallel to mirror surfaces, not perpendicular, to avoid blinding reflections during lifts. In tight spaces, ceiling-mounted fixtures should be behind (not in front of) your workout zone. I learned this the hard way when my initial setup created a glare spot exactly where I needed to spot the bar path during snatches.
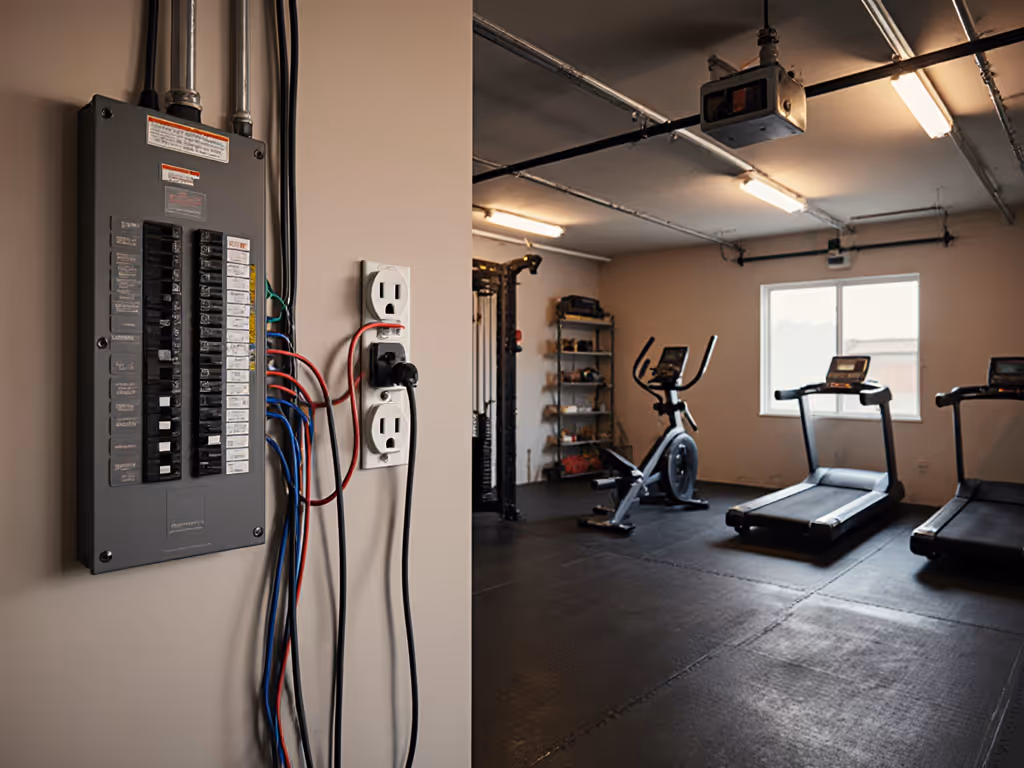
Never daisy-chain extension cords, as this is responsible for 37% of home gym electrical incidents. Use a single UL-listed power strip with surge protection mounted to wall studs (not drywall) using temporary construction adhesive. When I moved into my current space, I budgeted for a proper outlet relocation ($75 electrician visit) rather than creating a tripping hazard with cords across high-traffic paths.
Position equipment perpendicular to windows to maximize natural light benefits without glare. If you're in a basement or windowless room, consider a "daylight simulation" smart bulb schedule that mimics natural circadian rhythms. Comfort also depends on airflow—see our home gym ventilation guide for low-cost climate control that complements your lighting plan. My space has north-facing windows, so I positioned my lifting platform to face the light, and this reduced my artificial lighting needs by 40% during daytime sessions.
When lighting impacts neighbors, use dimmable fixtures that allow midnight workouts without disturbing others. Position lights to illuminate only your workout zone, not windows facing adjacent buildings. I use task lighting focused on my lifting platform, keeping my apartment hallway and living area in near-darkness, preserving my relationship with neighbors who work night shifts.
Choose fixtures rated IP44 or higher for humidity resistance (critical in spaces where temperature swings cause condensation). Install lighting on vibration-dampening mounts if your space shares walls with living areas. When I converted my garage gym, I skipped the attractive but moisture-vulnerable vintage filament bulbs for industrial LEDs that could handle 20-degree temperature swings without flickering.
Implement lighting that signals "gym mode" versus "living mode", which reduces mental friction when transitioning spaces. Magnetic LED panels that attach to folding racks allow me to deploy lighting simultaneously with equipment setup. My favorite space-reclaim trick: mounting ultra-thin LED strips along the top of my equipment storage cabinets creates ambient light that disappears when the gym is packed away. For organizing those cabinets and racks without eating floor space, compare options in our home gym storage solutions breakdown.
Track your lighting ROI through injury prevention and space perception. For my 120 sq. ft. space, I spent $120 on phase one lighting (contractor LEDs + mounting hardware) preventing an estimated $300 in potential physical therapy costs from a near-miss during deadlifts. In my spreadsheet, I calculate total cost of ownership: durability, energy use, and most importantly, whether the fixture supports my space constraints without creating hazards.
Compatibility note: When selecting fixtures, check compatibility with your ceiling height and existing equipment. My current 8' ceiling requires low-profile fixtures that won't interfere with pull-up bar clearance. Measure twice, install once, and lighting should enhance your space flow, not create new obstacles in already tight quarters.
As you optimize your home gym's workout space illumination, remember that lighting isn't just functional, it's foundational to your training ecosystem. Start lean with the safety essentials, then upgrade on schedule as your space needs evolve. In small-space training, every decision must pull double duty, your lighting should enhance safety while making your room feel larger, not create additional clutter. Start lean, upgrade on schedule, avoid sunk-cost traps.
When space is tight, your lighting strategy becomes your most powerful tool for creating a safe, effective training environment that doesn't compromise your living situation. Even modest lighting upgrades can dramatically improve your spatial awareness and motivation (key factors when working out in constrained quarters).
For those ready to dive deeper into optimizing their home gym lighting, explore how different color temperatures affect workout performance based on time of day, or investigate community-tested methods for integrating lighting into foldable equipment systems that disappear when not in use.