Buying Guides by Audience & Goal
Functional Home Gym for Runners: Injury Prevention Guide
23rd Feb•7 min read

When hand arthritis makes even holding a water bottle uncomfortable, the idea of building a home gym for hand arthritis can feel overwhelming. But what if your space could actually reduce joint stress instead of adding to it? After years helping urban dwellers create low-impact workout zones, I've learned that the right arthritis-friendly home gym equipment isn't about heavy weights (it's about smart grip modifications that keep you moving consistently). Forget complicated setups; we're focusing on equipment that vanishes into your living space after use, just like the resistance-band routine I helped my parents maintain during lockdown. Five days a week, silent tempo timers, and everything stored in one basket (no neighbor complaints, no equipment guilt). Let's build your sustainable solution.
Before buying anything, understand what your body and space actually need. Hand arthritis varies wildly: some struggle with pinching motions, others with wrist rotation or fist closure. This isn't about generic 'best equipment' lists; it's about your unique friction points.
Do-This-Now Box: The Grip Reality Check Grab a pen and paper. Time yourself trying these common motions:
Note where pain flares. This determines your equipment needs, not influencers' recommendations.
Noise Etiquette Tip: If you live in an apartment or shared space, test grip motions near walls/floors. Joint pops or equipment clicks travel farther than you think. Place your ear against surfaces to hear what neighbors might detect. For a deeper dive on keeping workouts quiet in apartments, see our apartment gym noise control guide.
Your audit reveals two critical things: (1) which movements aggravate your joints, and (2) your available 'quiet time' windows. Now we match equipment to your reality, not an idealized gym.
Hand arthritis demands equipment that adapts to you, not vice versa. Forget knurled bars and thin rubber grips. We need soft, wide contact points that distribute pressure evenly. Here's what actually works:
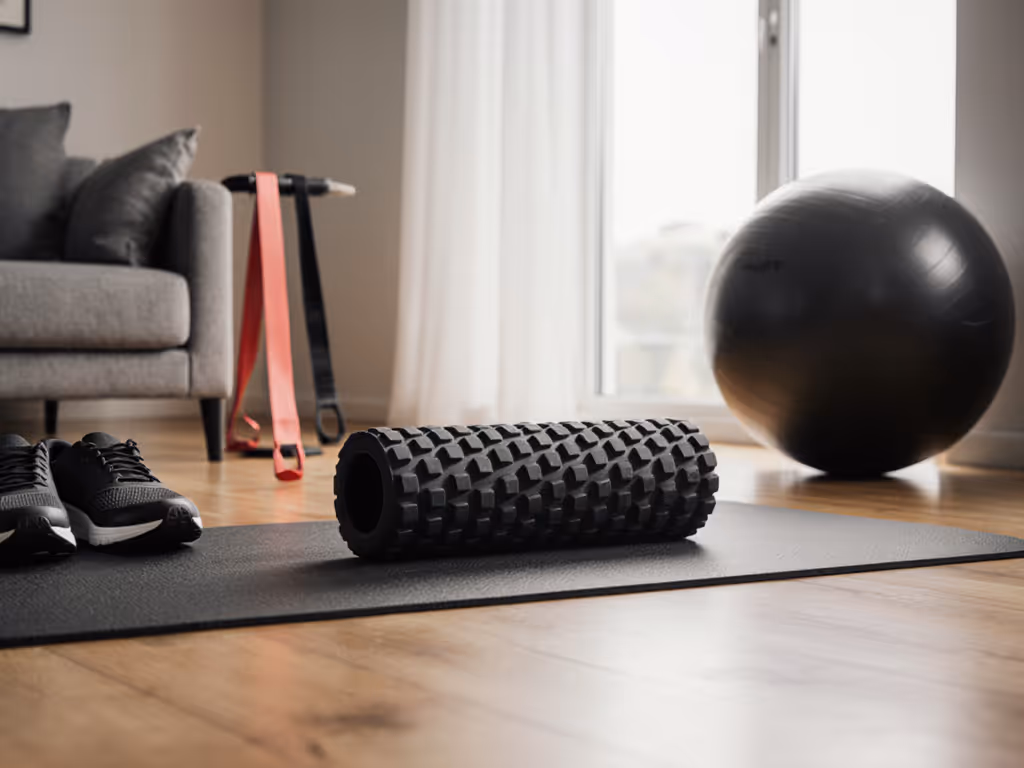
Forget bulky machines. High-quality resistance bands with grip modifications for arthritis are your secret weapon. Look for:
Why this works: You control the range of motion. Can't fully close your hand? Use bands looped around feet for seated rows. Wrist pain during curls? Anchor the band low and pull upward with palms facing you. I've seen clients with severe RA build functional strength using nothing but bands stored in a shoebox. For exercise selection and progression, see the science of resistance bands.
Most adjustable dumbbells fail arthritis sufferers with their tiny twist knobs. Instead, prioritize:
Steer clear of hex-shaped weights, which can roll unpredictably when dropped mid-set due to joint spasms. Round bases with grippy silicone bottoms keep you safe during shaky moments.
Do-This-Now Box: The 30-Second Grip Test When testing dumbbells (online or in-store):
Cable stacks beat fixed machines in a home gym when wrist arthritis is a factor, because they let you adjust pull angles. Critical features:
Skip lever-arm machines. They force rigid movement patterns that grind inflamed joints. A quality cable system lets you work with your body's comfortable range instead of against it.
Arthritis fatigue means you won't bother with complicated setups. Your joint-friendly workout tools must live where they're used, and vanish just as fast. This is where 90% of home gyms fail. Get ideas from our home gym storage solutions comparison to keep equipment accessible and tidy.
The Living-Room-Ready Checklist
In my parents' living room, resistance bands snapped into a tensioner on the TV stand. The mat folded into a corner ottoman. We finished sessions by resetting everything in 90 seconds (before muscles stiffened). That tiny habit made consistency inevitable.
Noise Etiquette Tip: Place rubber mats UNDER equipment, not just where you stand. Vibrations travel through floor joists, not just air. Test by placing coins on nearby surfaces; if they jump during use, add more matting.
Forget 'no pain, no gain.' With arthritis, consistency beats complexity every time. Your goal isn't max lifts; it's maintaining range of motion without flare-ups. For structure with minimal gear, use our limited-equipment home workouts guide.
Week 1: The 5-Minute Reset Ritual
Why this works: Starting with non-dominant hands reduces mental resistance. The 'return immediately' step prevents equipment clutter that becomes visual stress. I've watched clients stick with this longer than hour-long gym sessions because it respects their energy fluctuations.
Week 2+: Micro-Progression System Only increase resistance when you can complete all reps without:
This isn't weakness; it's smart joint management. A recent industry report confirms that 78% of arthritis patients abandon routines due to post-workout pain, not lack of willpower.
The magic happens when your home gym disappears between sessions. No guilt-inducing clutter. No wrestling with stiff joints to reset equipment. Just smooth transitions that make showing up effortless.
The Saturday Reset Ritual Every Saturday morning:
This 7-minute habit prevents the 'where did I put that?' frustration that kills consistency. To keep gear lasting longer (and safer), follow our home gym maintenance blueprint. Small wins compound when your space lowers friction daily.
Quiet confidence compounds. Not through heroic efforts, but through frictionless systems that respect your body's limits. I've watched clients transform their relationship with movement, not by pushing harder, but by designing softer landing points.
Today, grab any basket (laundry hamper, tote bag, even a cardboard box). Place one arthritis-friendly item inside:
Put the basket where you'll see it daily (beside your coffee maker, near your TV remote, or by your front door). For seven days, use just that one item for 3 minutes upon waking. No grand plans. No extra steps. Just show up.
After seven days, reassess: Does this feel sustainable? Can you add one more minute? If yes, keep going. If not, swap the item for something more comfortable. Your good home gym equipment journey starts with what actually works for you, not what influencers say you should use.
The goal isn't a perfect gym. It's a space that welcomes you back, day after day, without demanding more than you can give. That's how we build resilience, not through force, but through frictionless consistency.