Buying Guides by Audience & Goal
Vertical Jump Training Equipment: Smart Space Solutions
28th Nov•6 min read
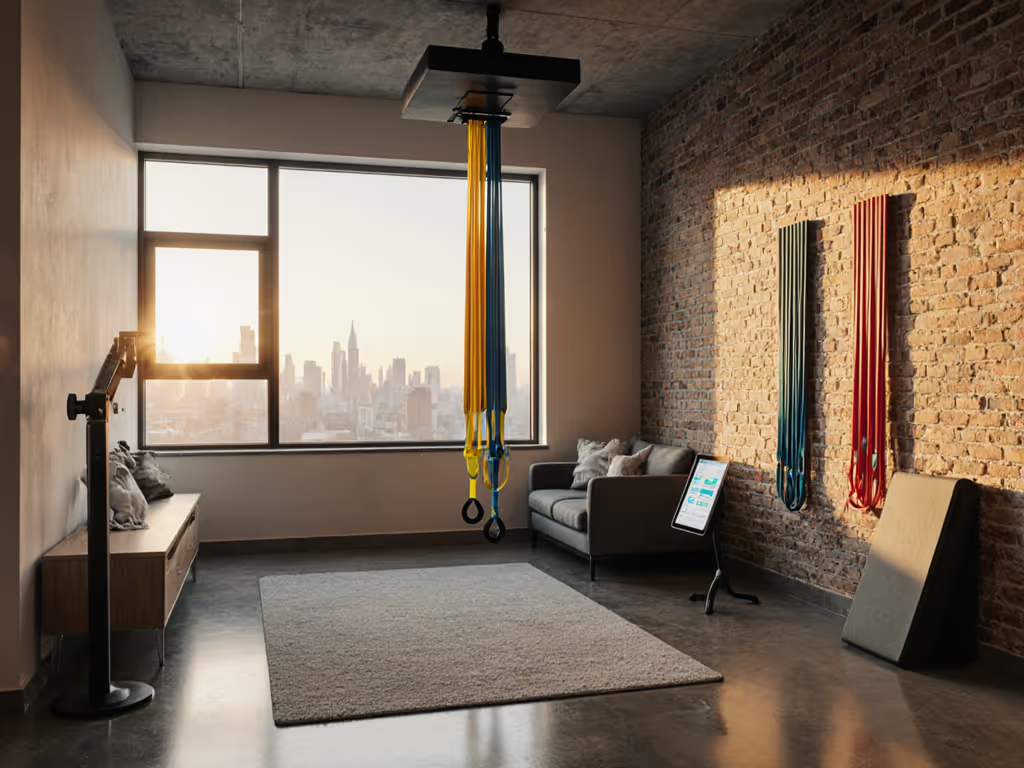
For urban dwellers battling chronic pain, building a home gym means solving two critical puzzles: how to move safely within your body's limits while respecting thin walls and shared floors. If thin walls are your reality, our apartment gym noise control guide covers equipment mods, flooring, and timing to keep the peace. Chronic pain home gym setups require pain management exercise equipment that minimizes vibration transmission and prioritizes gentle, repeatable movements (not just compact footprints). Forget forcing gear into your space. Measure first, then let the room choose the gear.
Generic "best equipment" lists ignore the reality of paper thin apartment walls and sensitive joints. When your hip flexors tighten after sitting at a cramped desk (a common pain trigger), a standard gym setup might actually worsen discomfort through vibration echoes or awkward positioning. As I learned in my first apartment (where deadlifts sounded like bowling balls to neighbors below), the room chooses the gear, not the other way around. Here's how to build smarter.
A: Layer isolation based on your floor's decibel transmission rate. Hardwood over concrete transmits 5 to 8 dB more vibration than engineered wood with underlayment. Your strategy: For a breakdown of shock absorption and noise across flooring types, see our soundproof home gym flooring comparison.
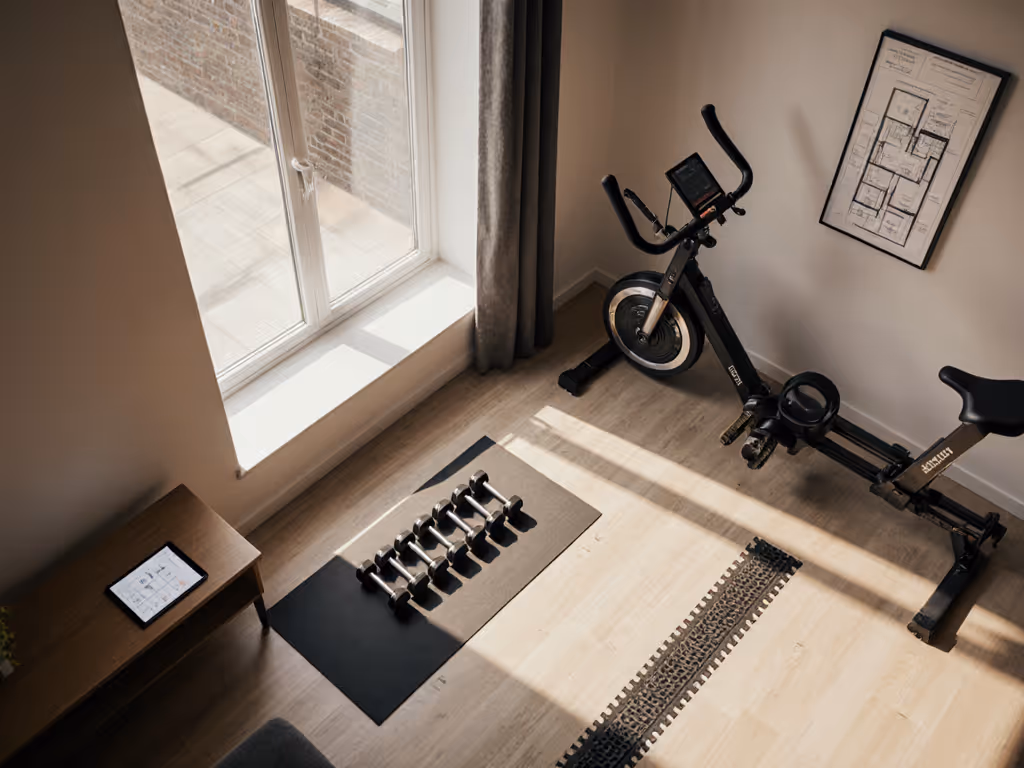
Room first wins: A 2 m x 1.5 m zone with layered flooring handles 90% of gentle strength training needs (no full platform required).
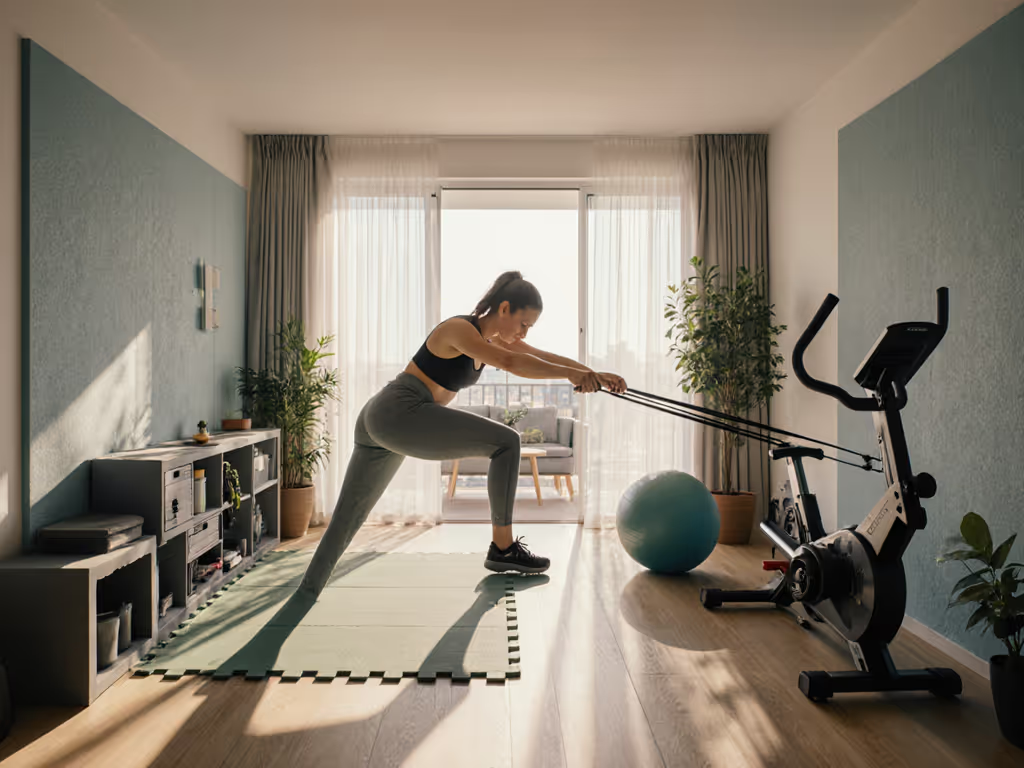
A: Prioritize movement paths over sheer equipment count. For back pain exercise solutions, clearance matters more than rack size:
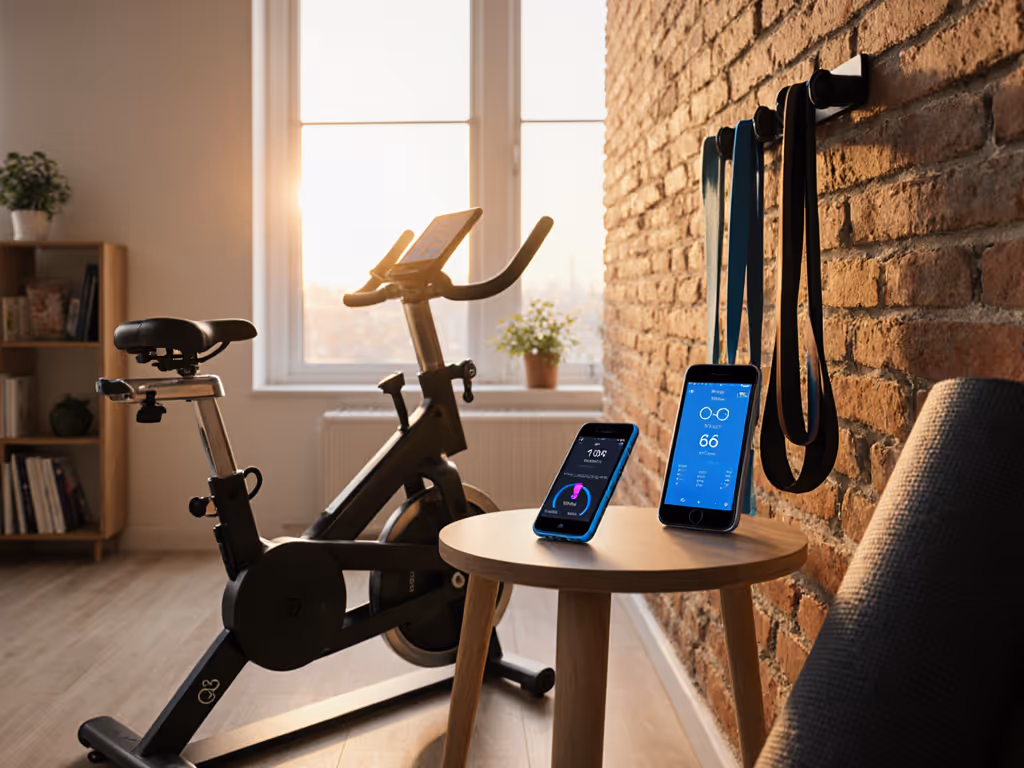
A: Magnetic resistance beats mechanical noise every time, but check motor specs. Here's what decibel testing reveals: If rowing fits your space, compare options in our compact, quiet rowers guide.
| Equipment Type | Avg. Noise at 1 m | Space Needed | Chronic Pain Advantage |
|---|---|---|---|
| Magnetic Rower | 48 to 52 dB | 2.4 m x 0.7 m | Smooth stroke protects knees; no jarring impact |
| Recumbent Bike | 42 to 46 dB | 1.5 m x 0.6 m | Back support reduces lumbar strain; seated position |
| Vibration Plate | 40 to 44 dB | 0.7 m x 0.5 m | Cellular activation with zero joint load |
| Treadmill (belt) | 65+ dB | 2 m x 0.8 m | Avoid: belt slap transmits 22 Hz vibration into floors |
Note: Vibration plates excel for fibromyalgia workout equipment. Twenty minutes matches 2 hours of walking benefits with 70% less perceived effort.
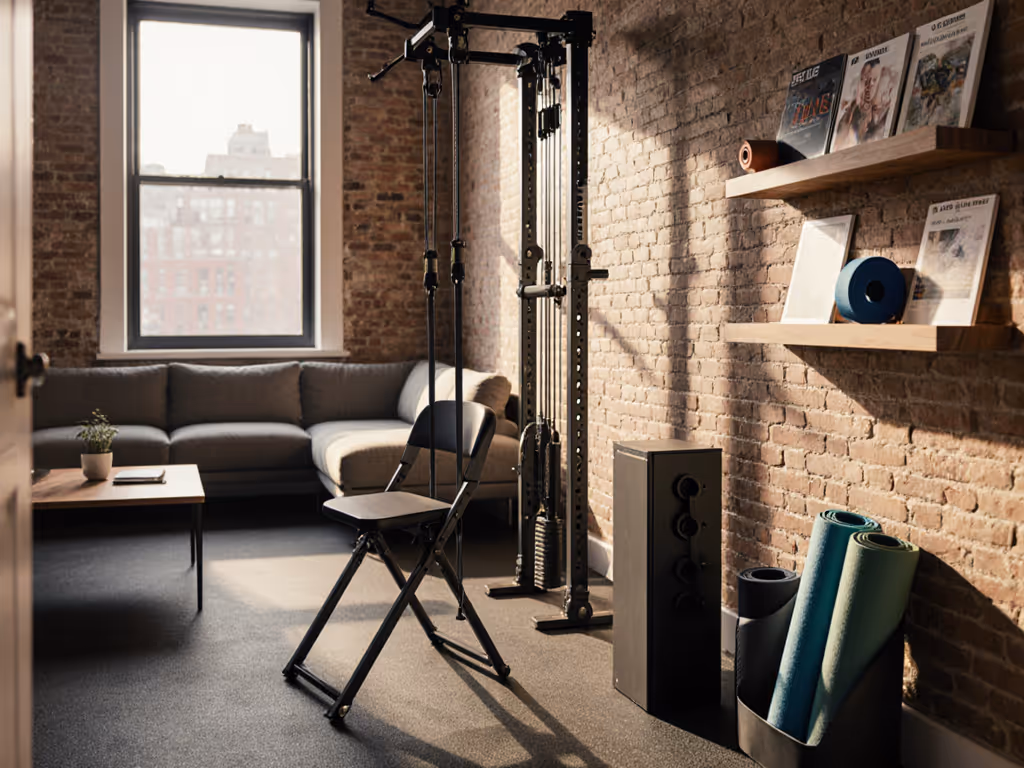
A: Adopt the 90 second rule: If you can't stow it in 90 seconds, don't buy it. Chronic pain flares with rushed transitions. Implement: For organization ideas that cut setup time under 90 seconds, see our home gym storage solutions.
Before buying a single item, run this room audit:

Arthritis friendly fitness isn't just about light weights; it's about movement quality within spatial constraints. Heavy racks on bare floors create micro vibrations that inflame joints. Instead:
That day my neighbor said, "Whatever you changed, keep it," was the moment I realized pain management and noise control share the same physics: respect the environment, and the movement follows.
Grab your tape measure and noise meter app right now. In 10 minutes, document:
This data, not brochures, dictates your chronic pain home gym. With it, you'll instantly filter out 80% of incompatible gear. For gentle strength work that stays joint-friendly, see our science-backed resistance band guide. Room-first wins every time.